Gridcase 1520 CMOS Battery Replacement
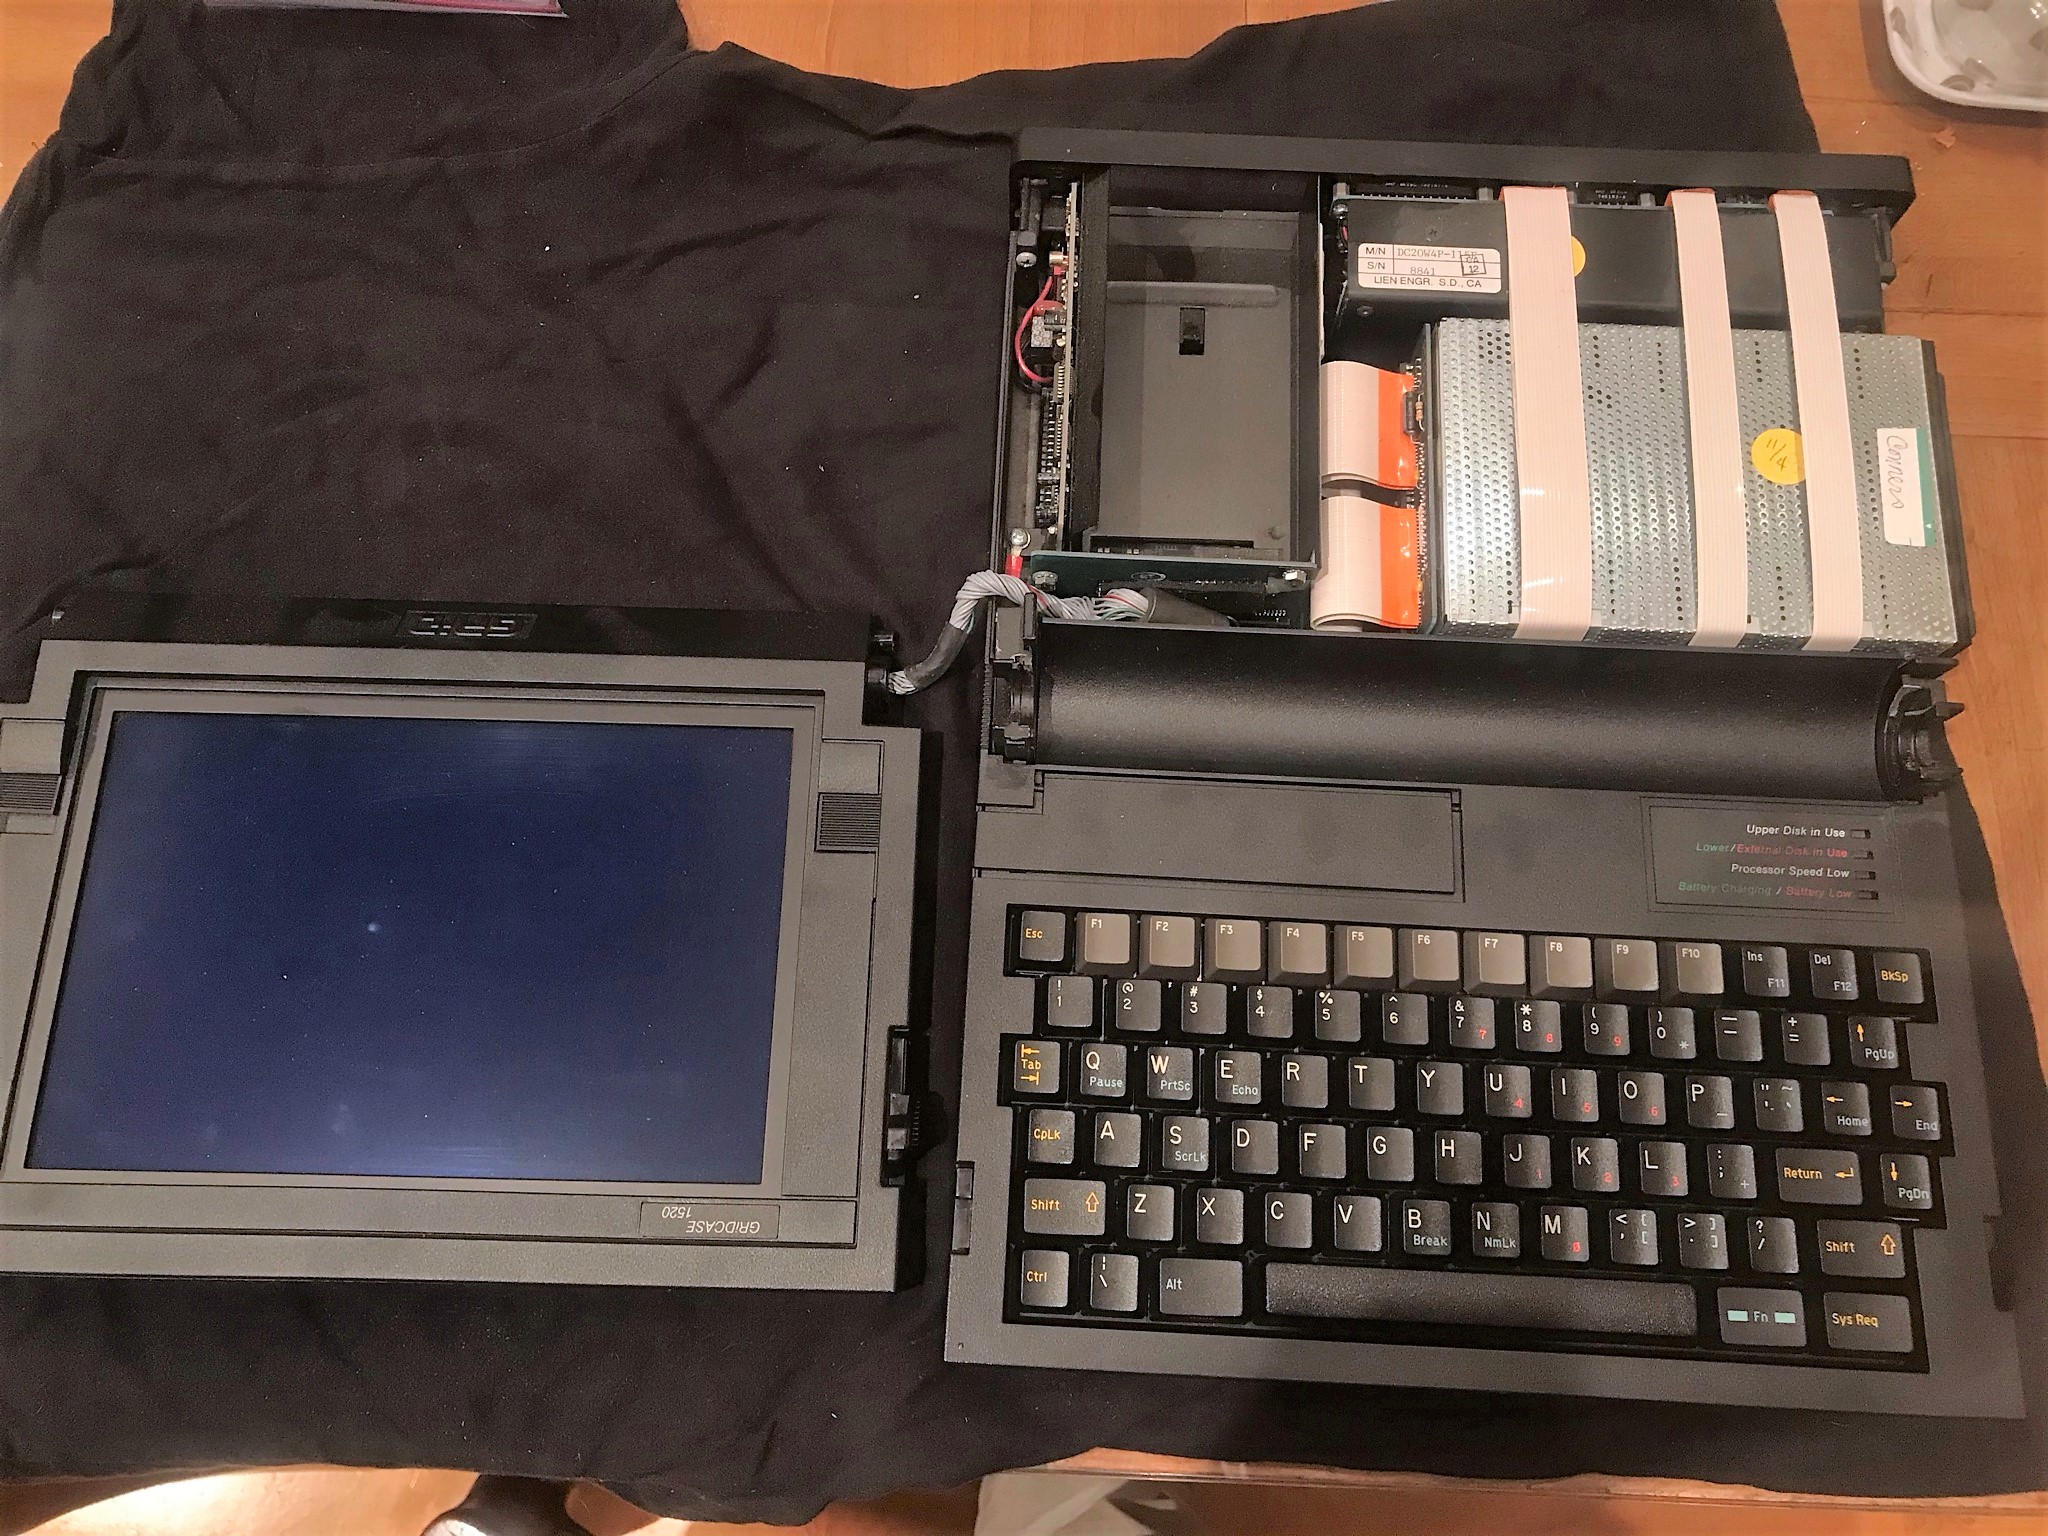
Time to look at a Gridcase 1520 portable computer. Not the one that had the power supply failure; this is the cheaper model with the LCD screen instead of the gas plasma display. When it turns on it complains that the real-time clock has stopped and the CMOS configuration is invalid. Time to open it up and replace the CMOS battery!
Getting the hardware together
I relied heavily on a scanned copy of the Gridcase 1500 Disassembly/Reassembly instructions that were uploaded to the (now-defunct) "RuGrid Laptop" Yahoo group. The images in that document are a little low-resolution but hopefully the pictures in this post will help you out.
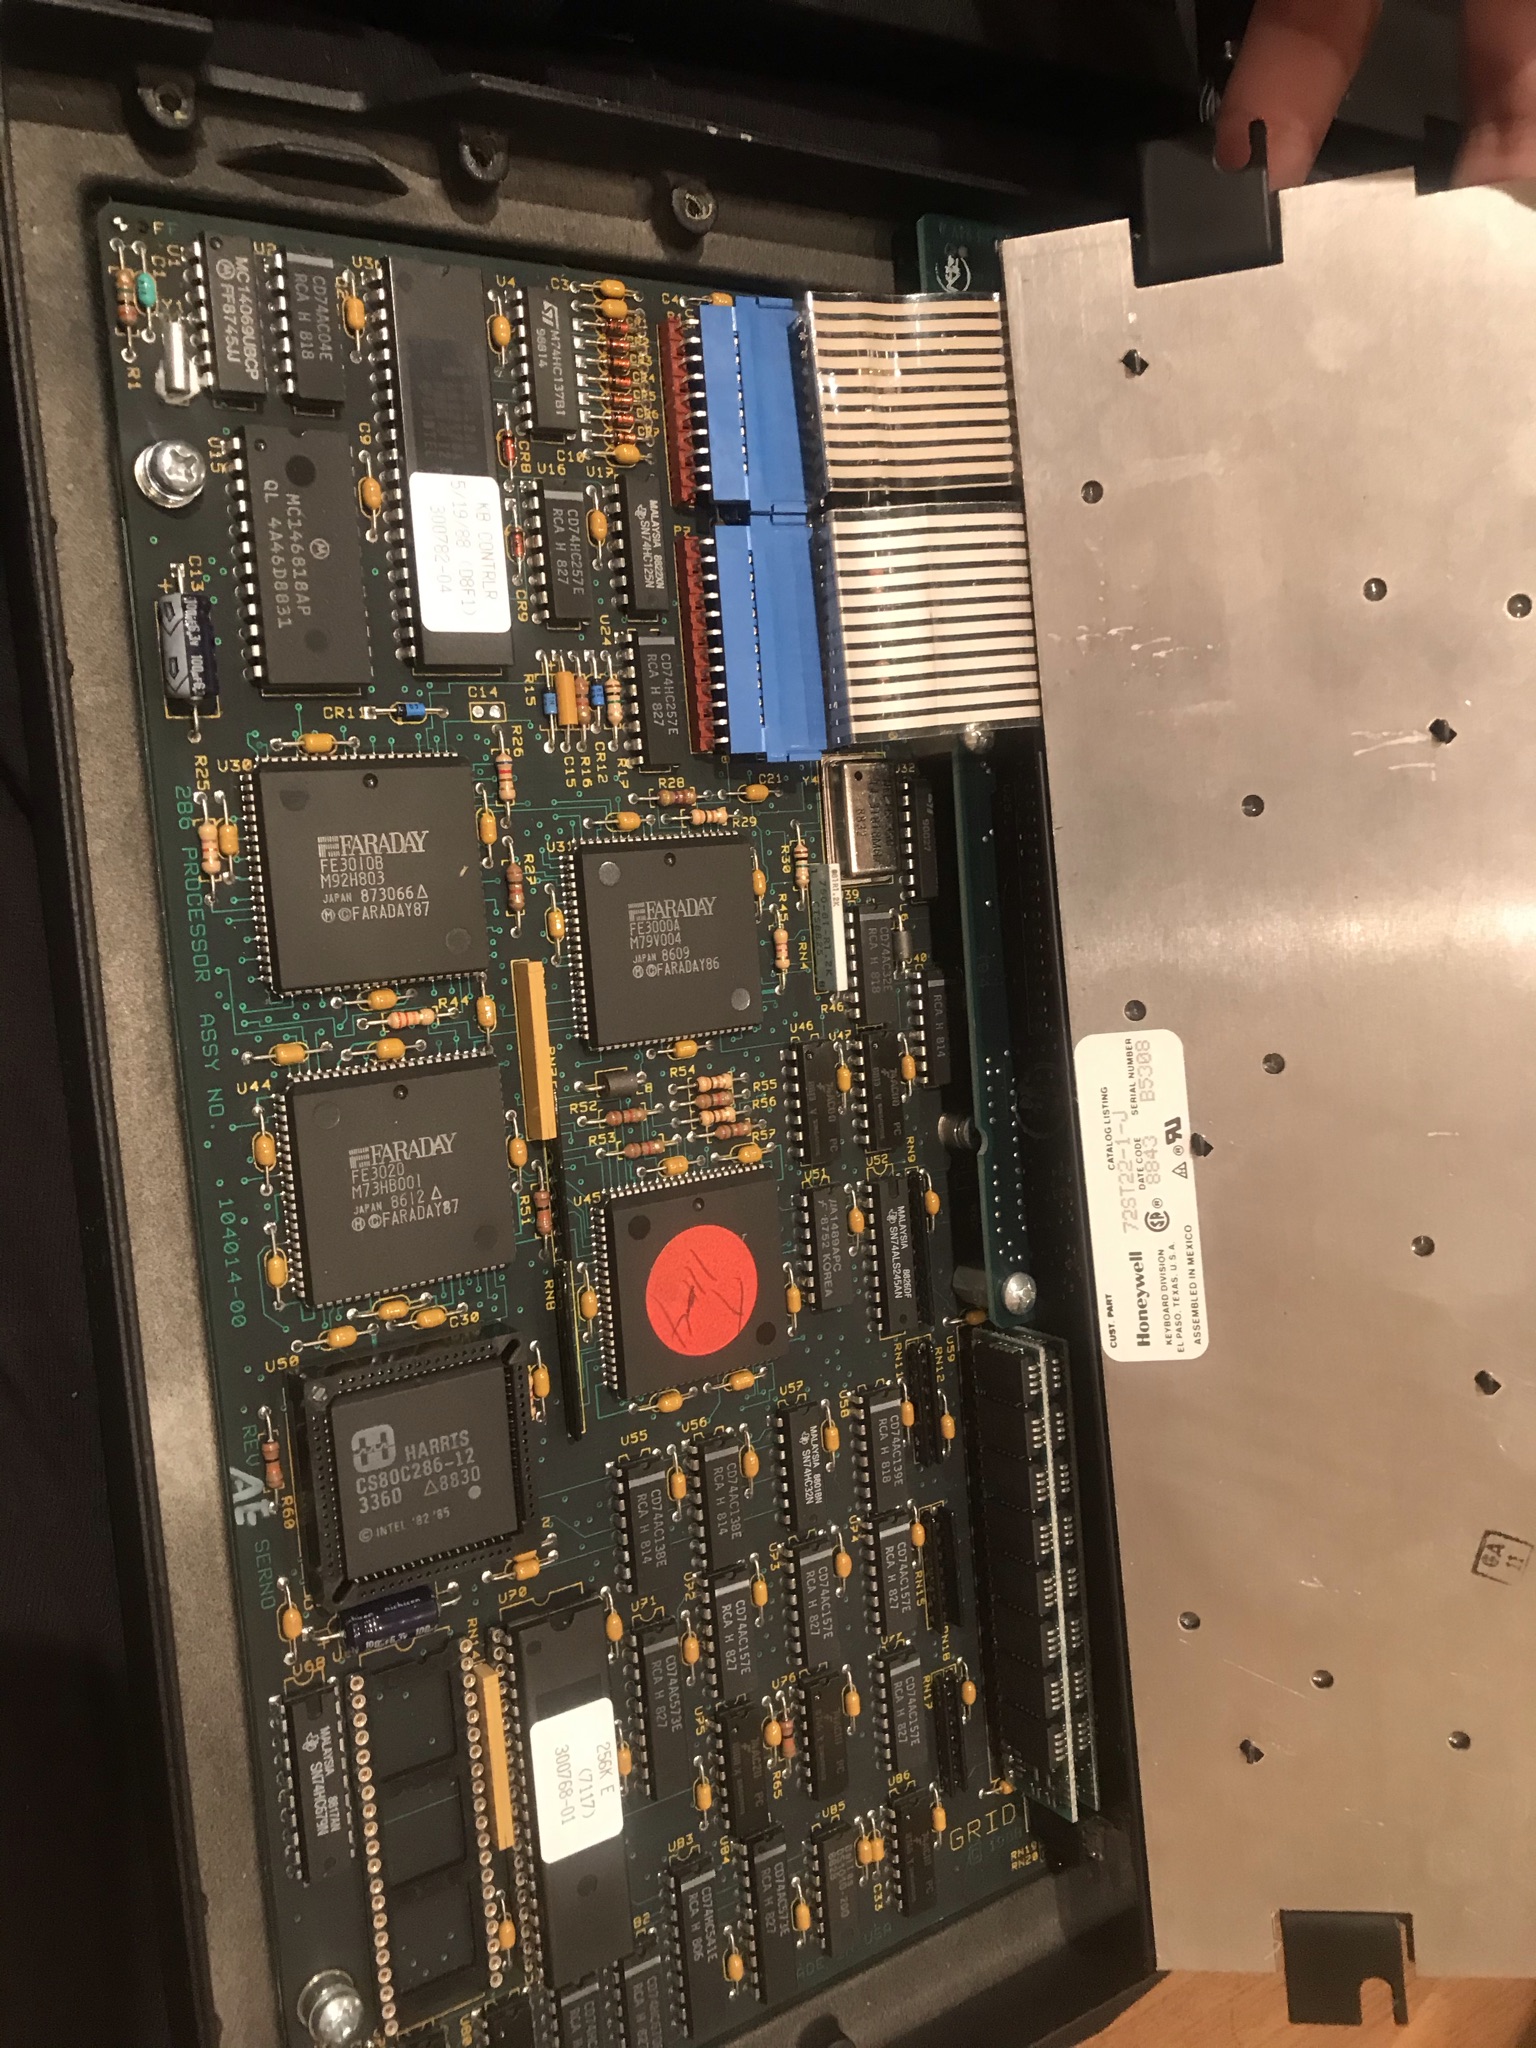
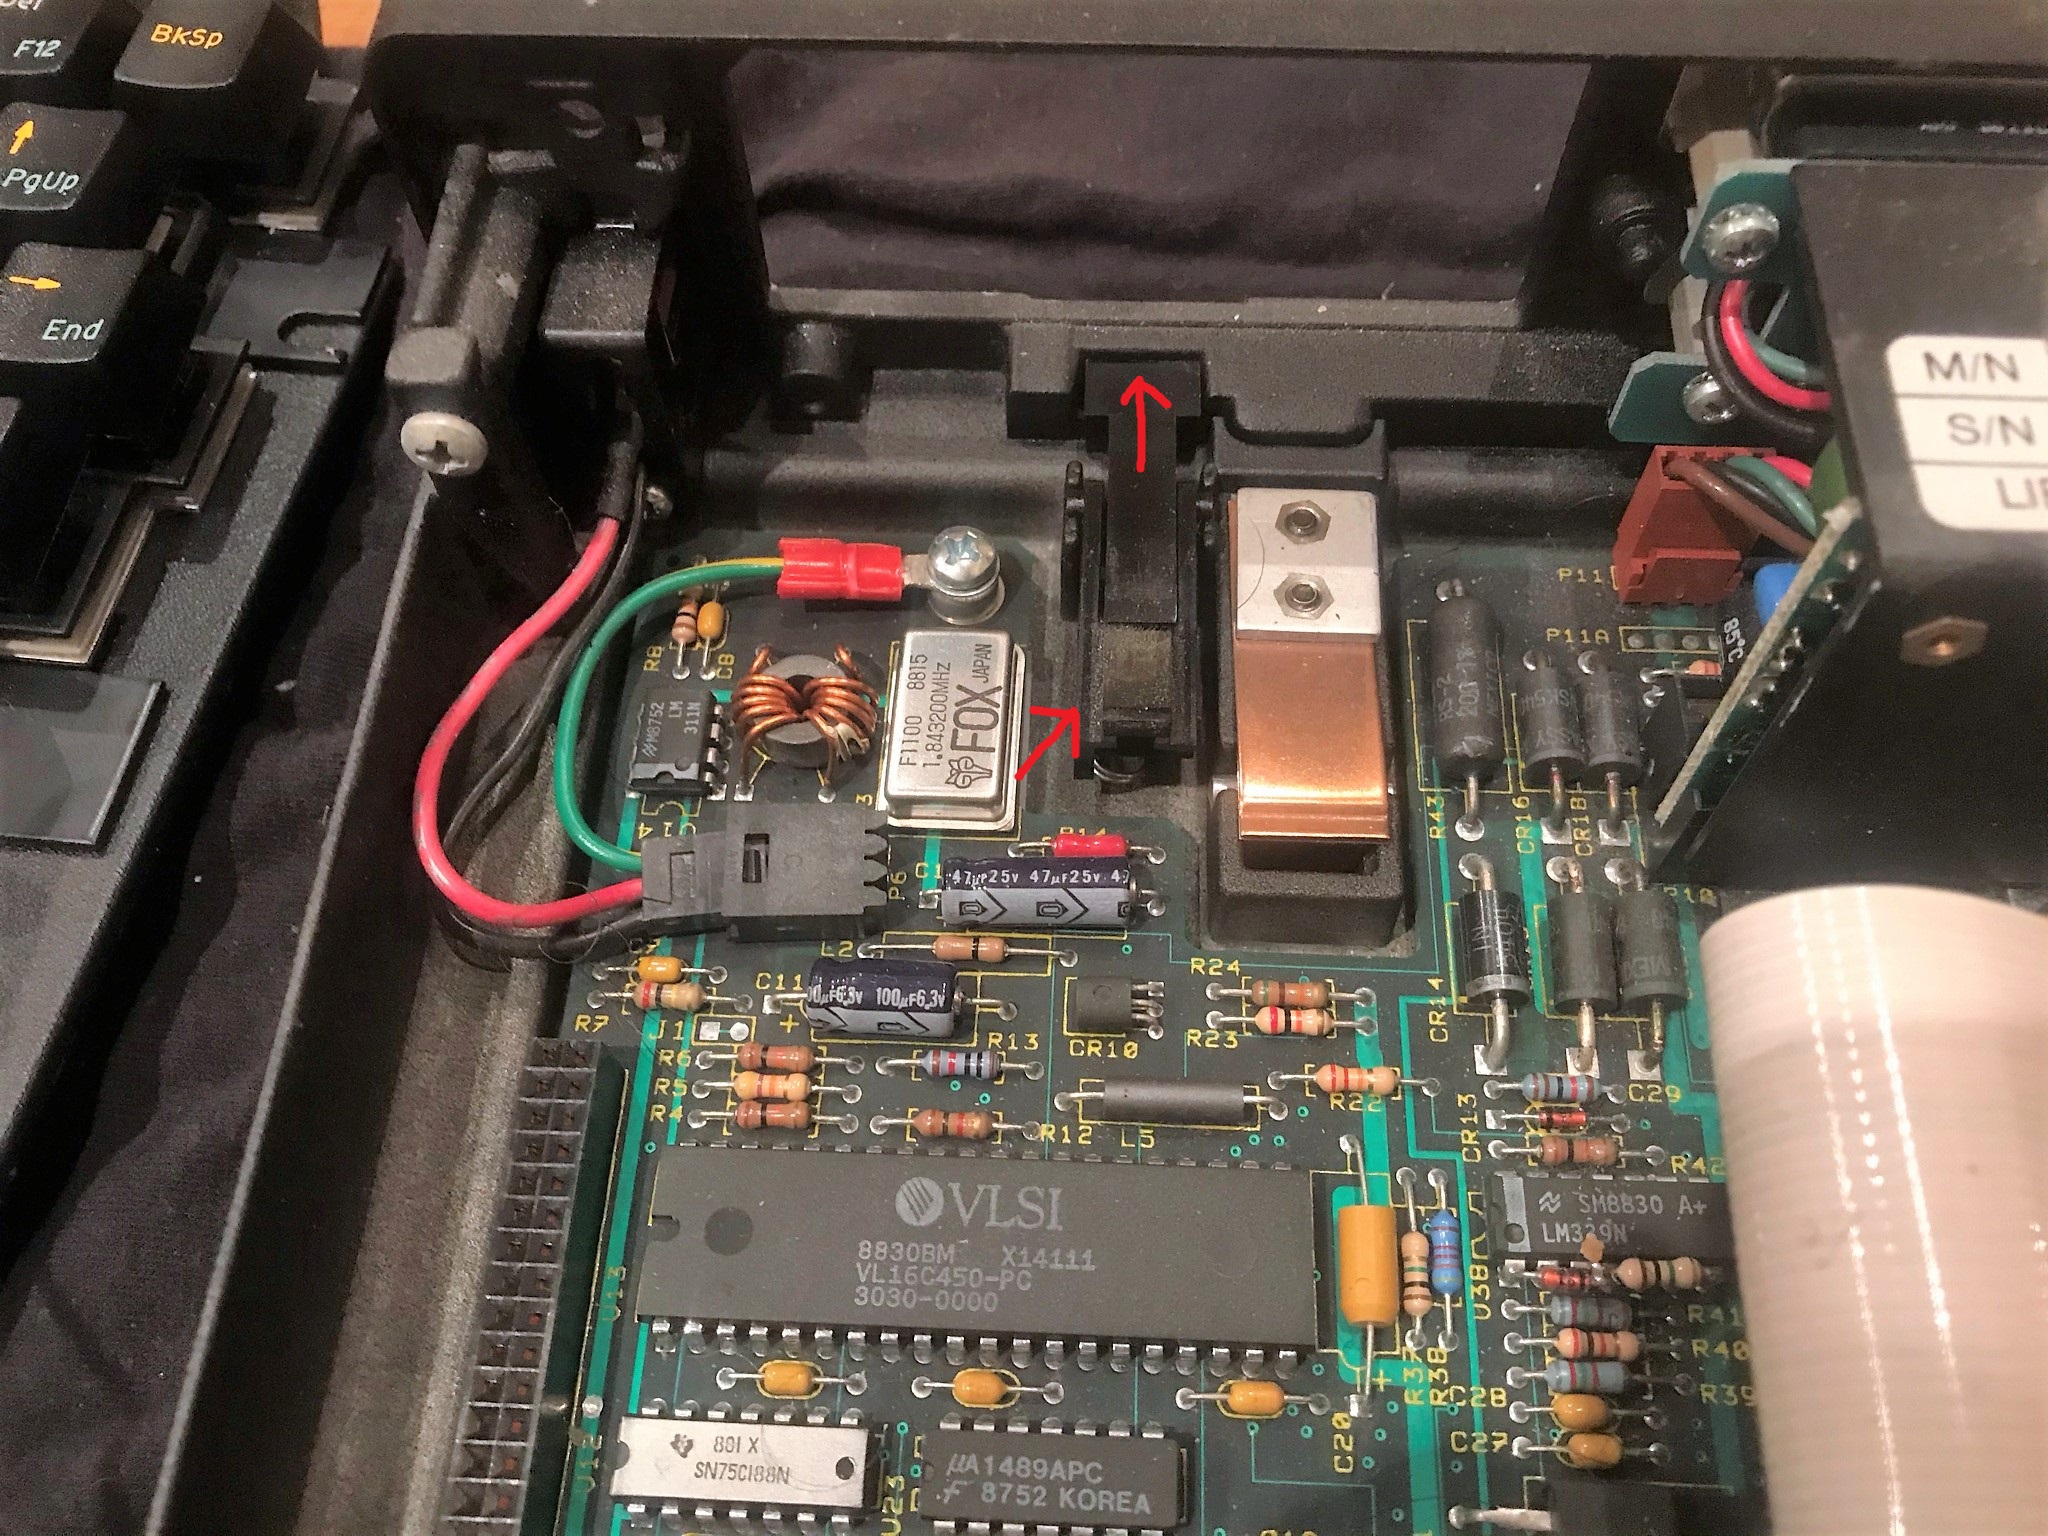
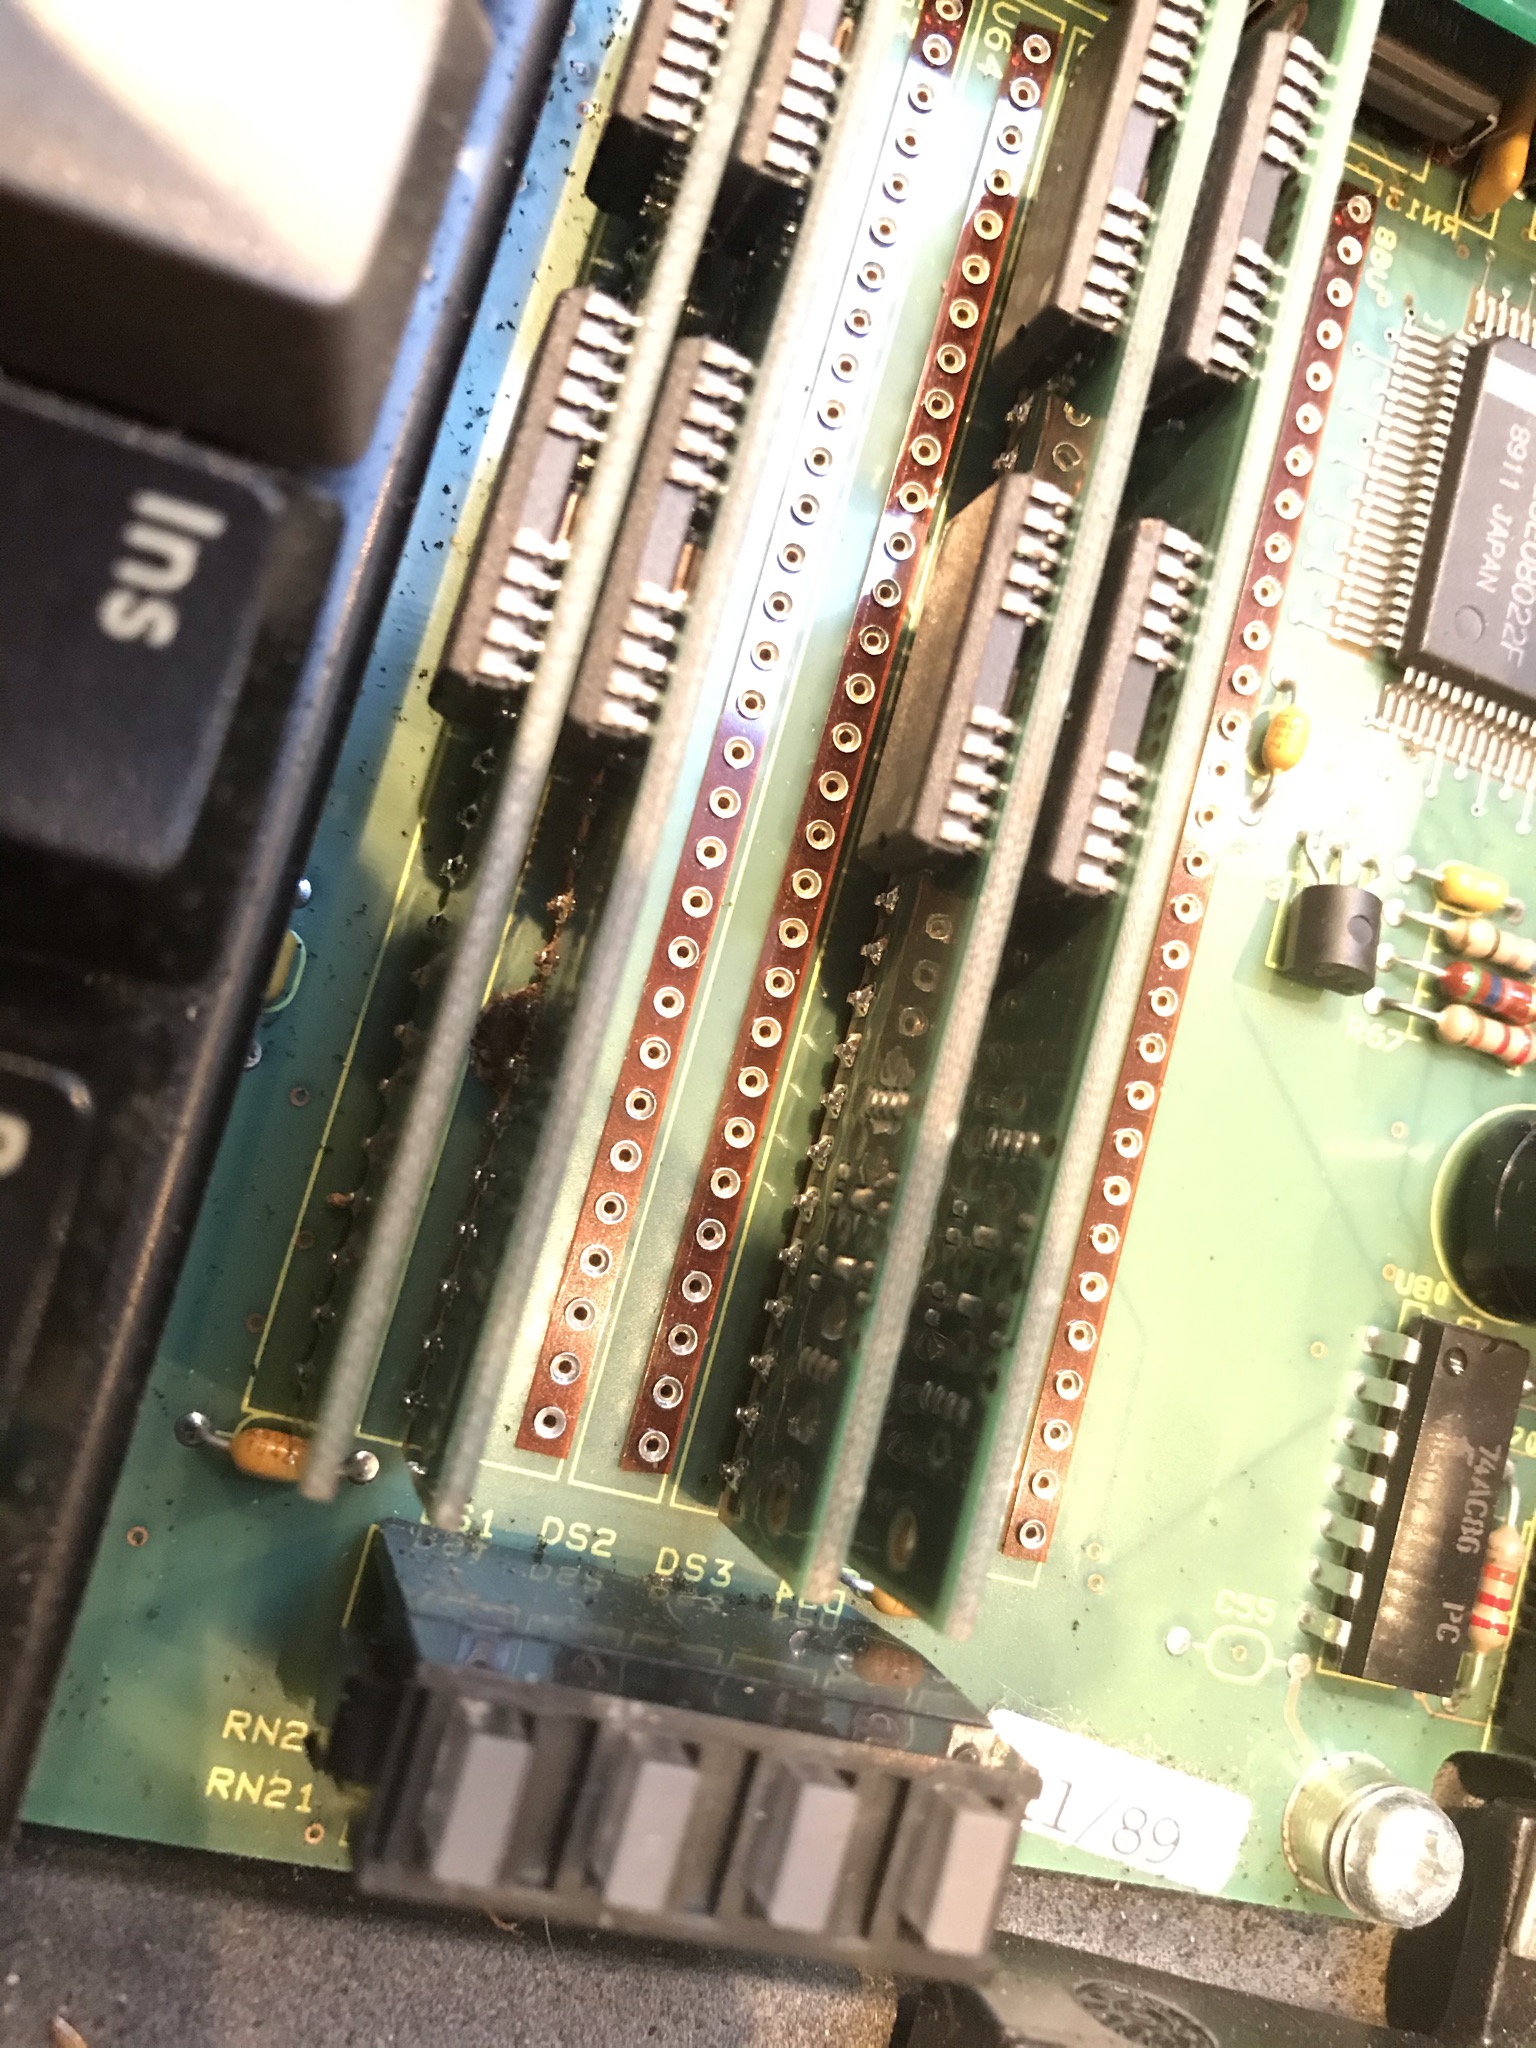
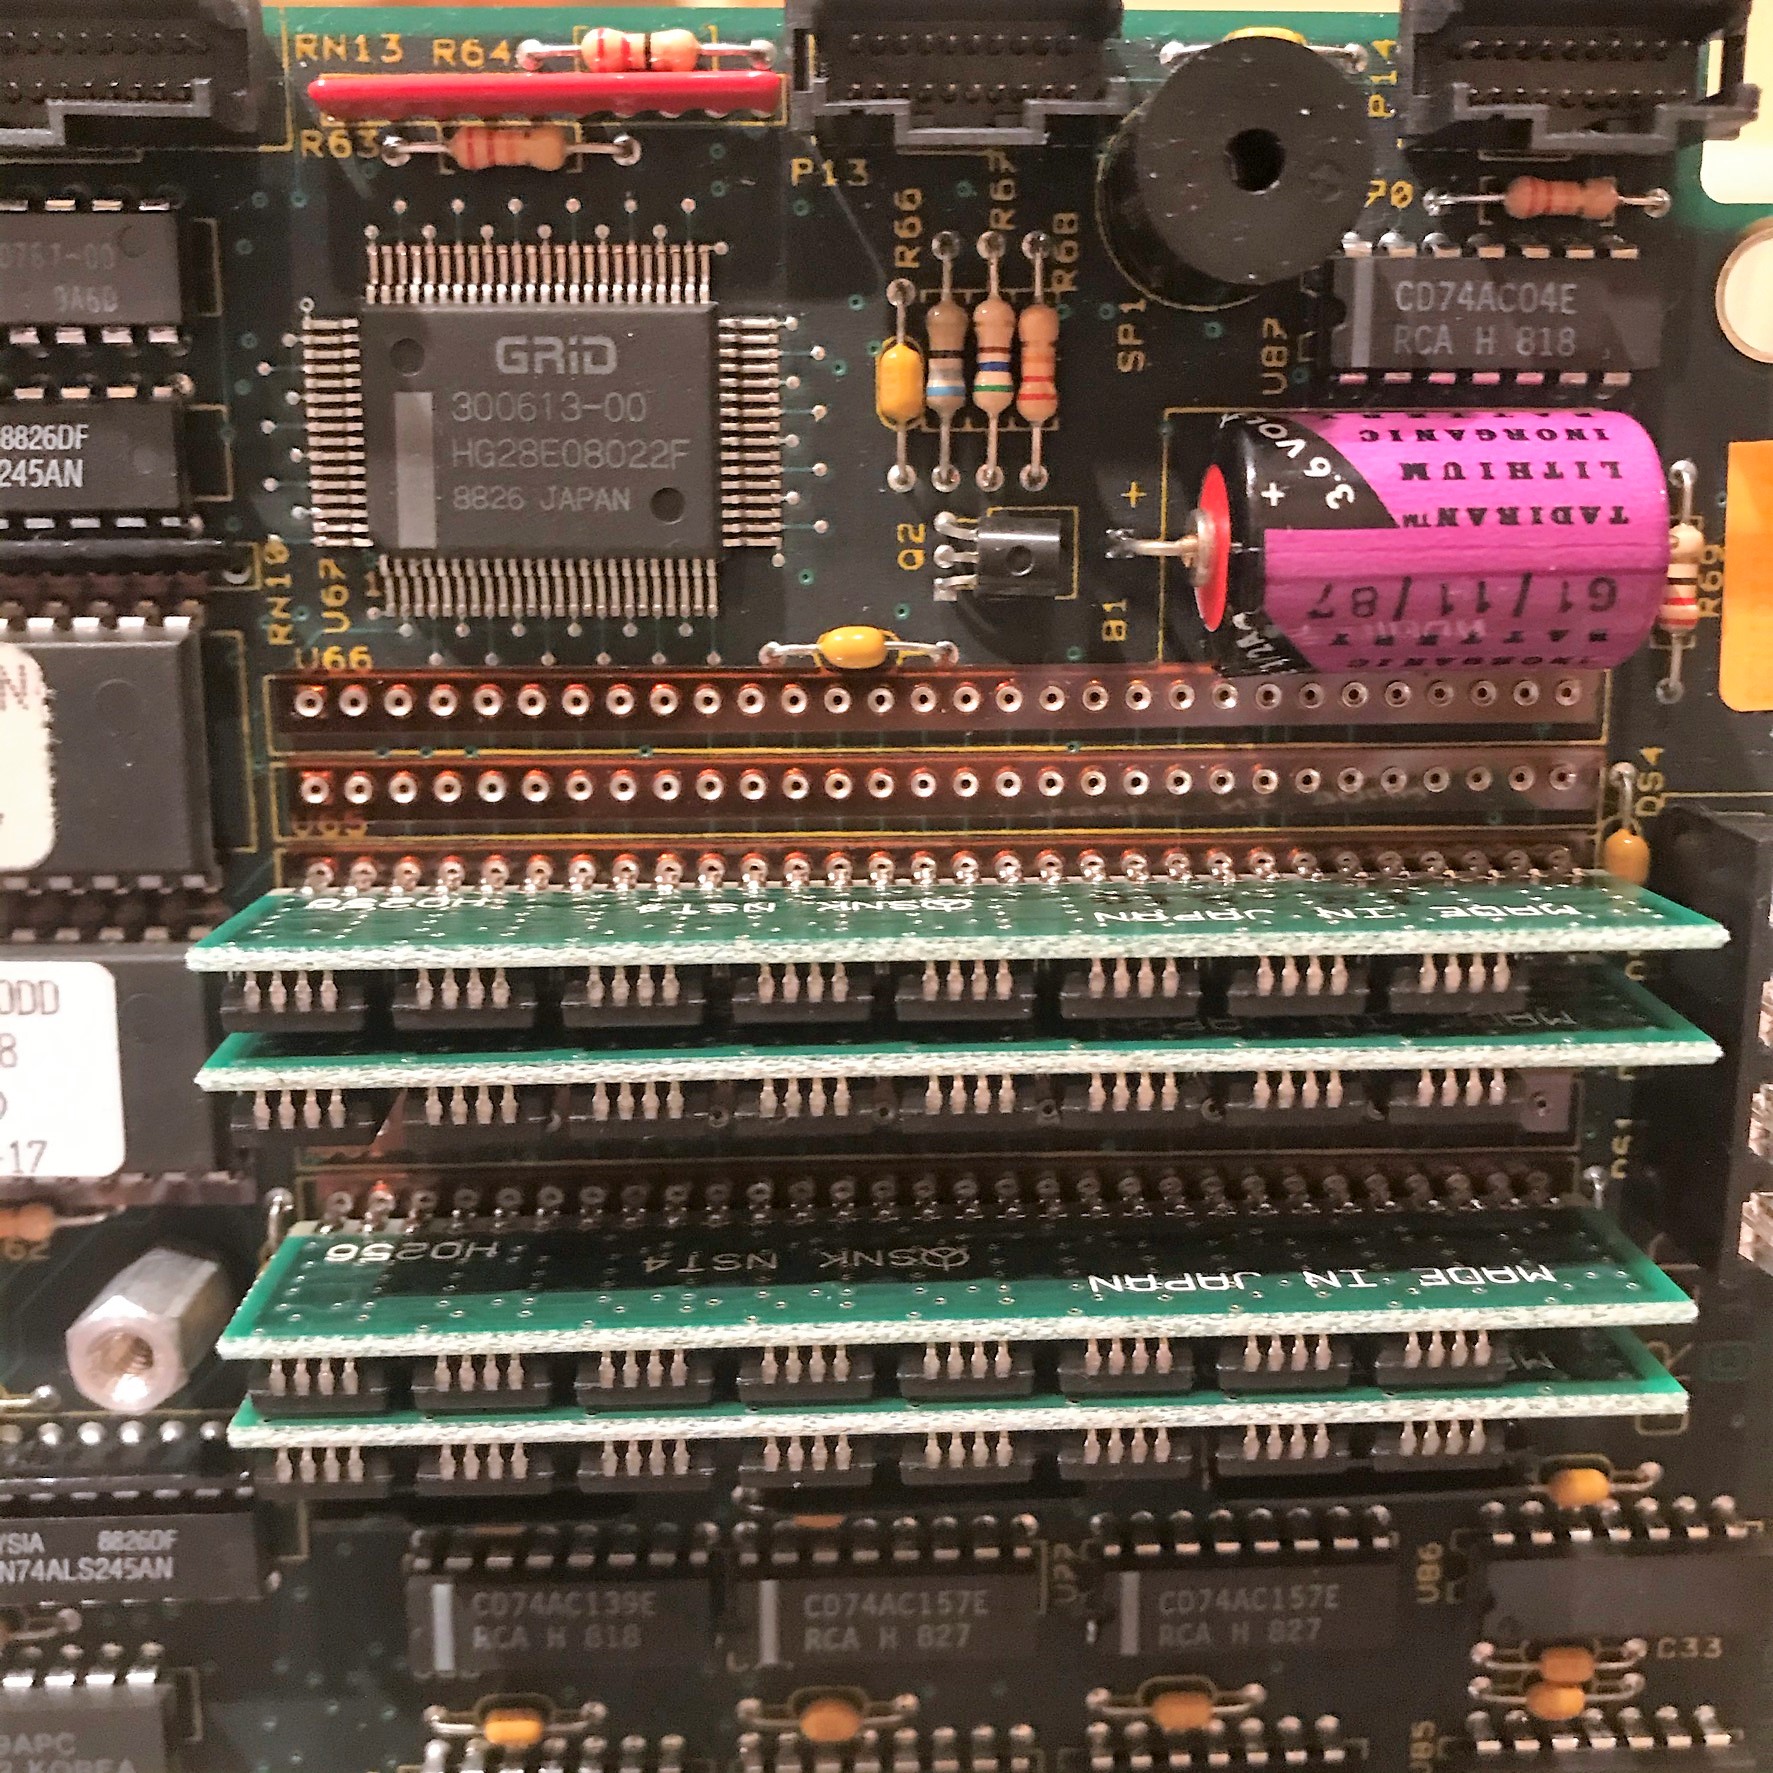
Also be aware that there are at least two different revisions of the Gridcase 1520 main board: one which has a soldered lithium battery and an MC146818AP RTC chip, and one which has a Dallas 1278A RTC with embedded lithium cell. This post is about the former type; if you have one of the latter then you're out of luck since the Dallas RTC module is difficult to remove and hard to source a replacement for.
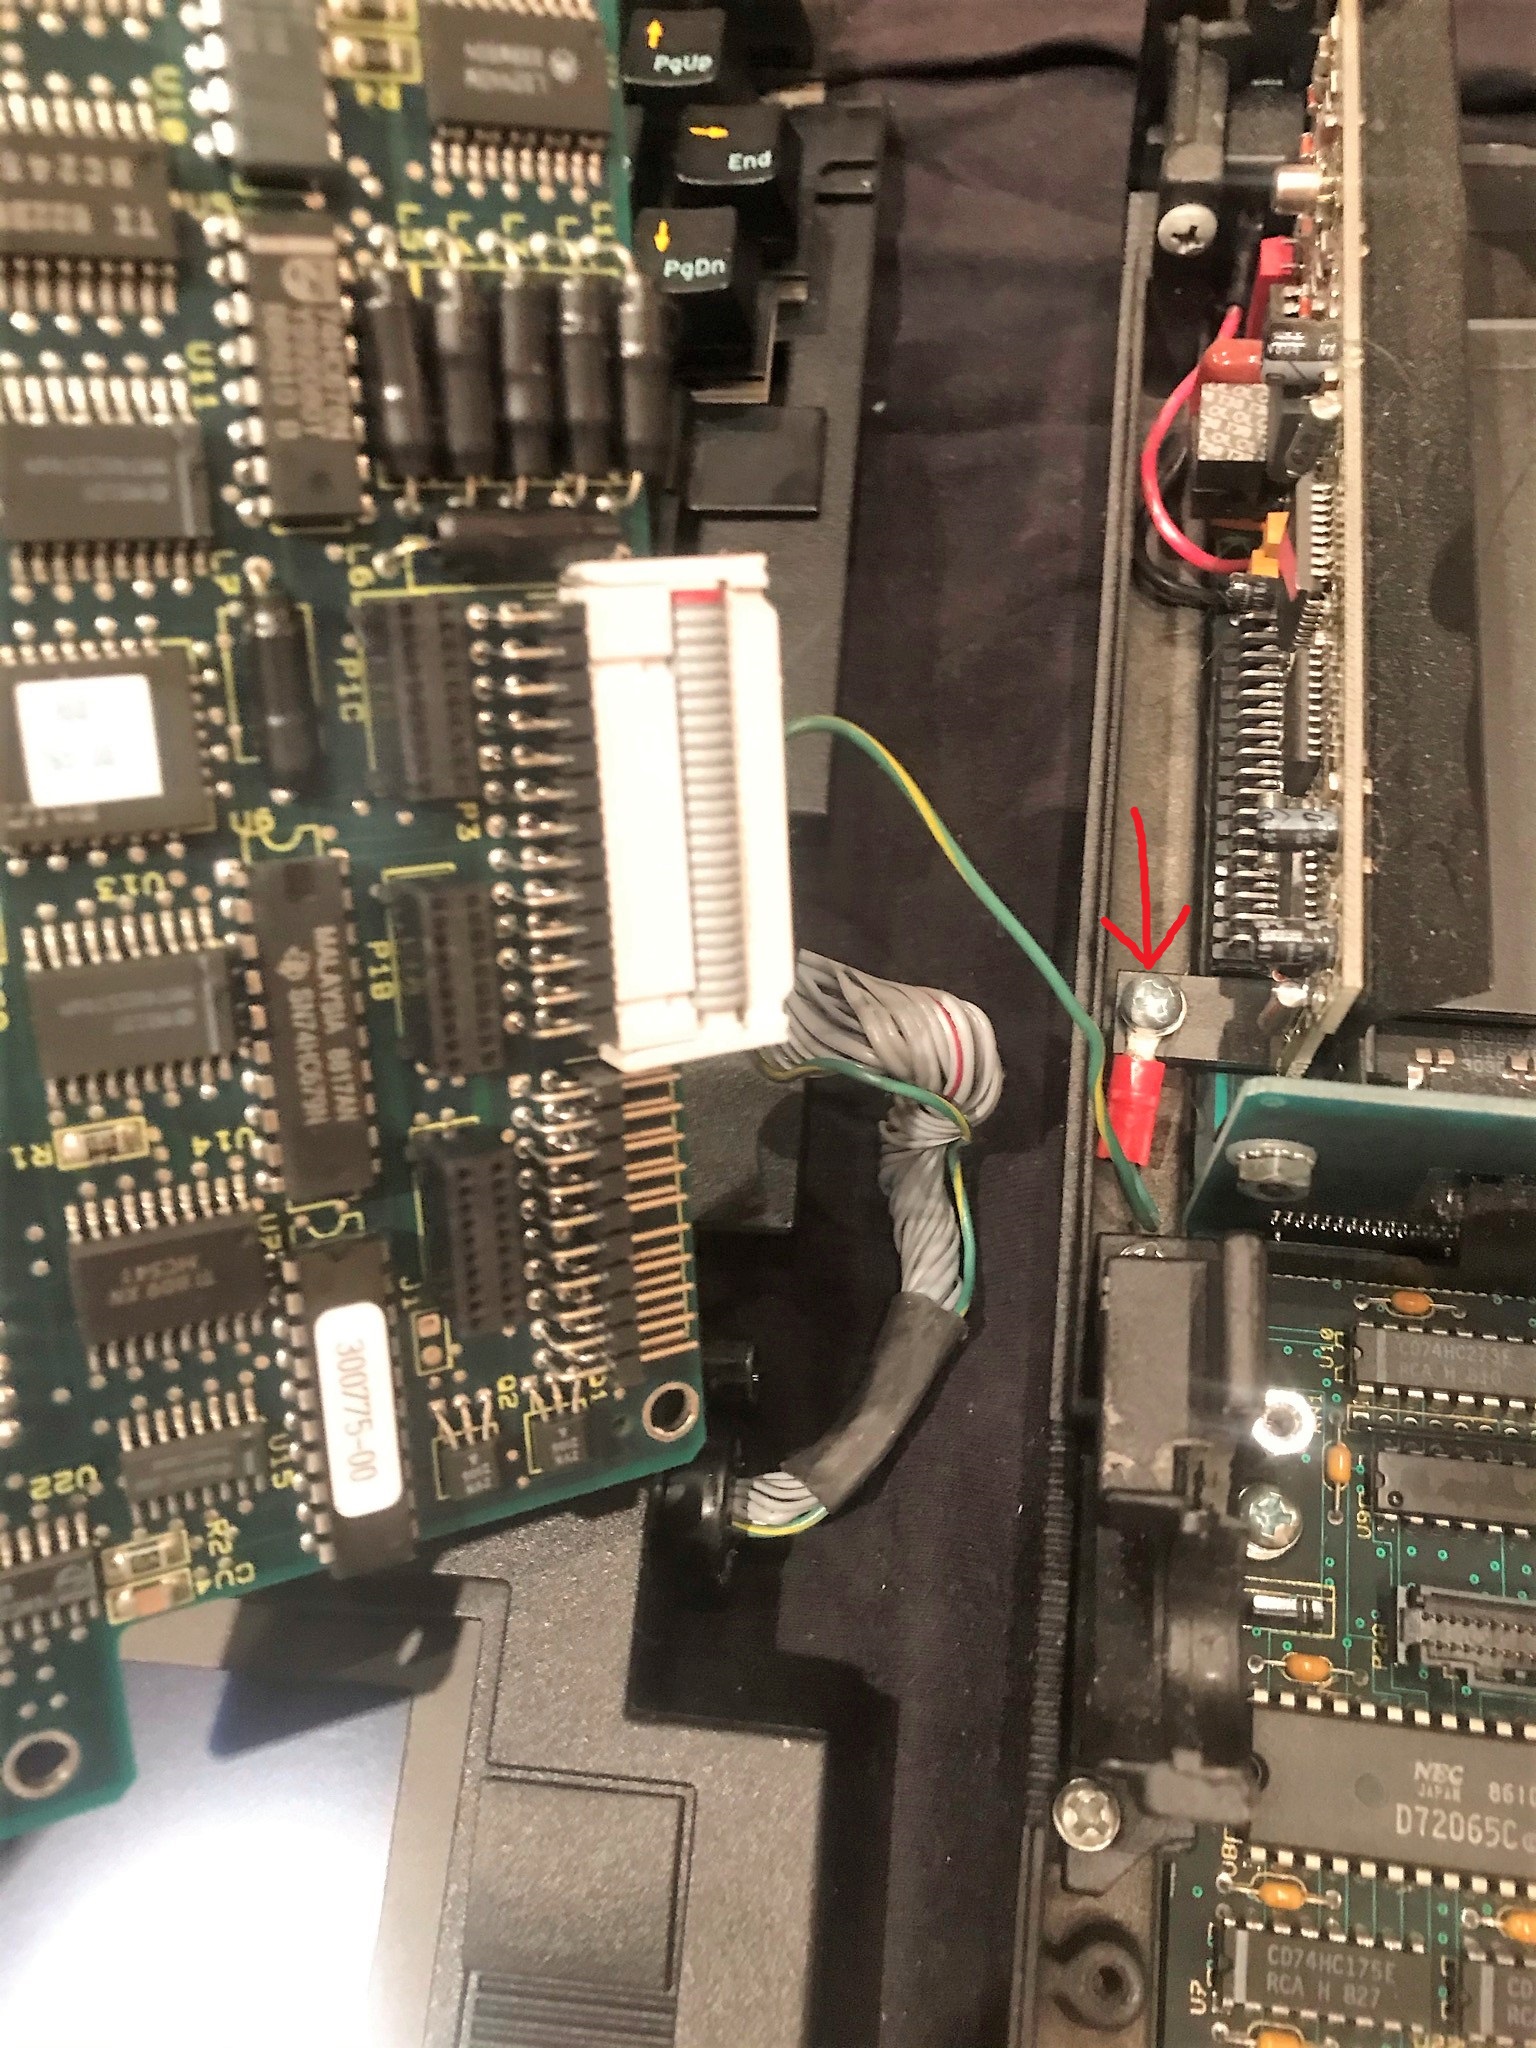
Taking the hardware apart
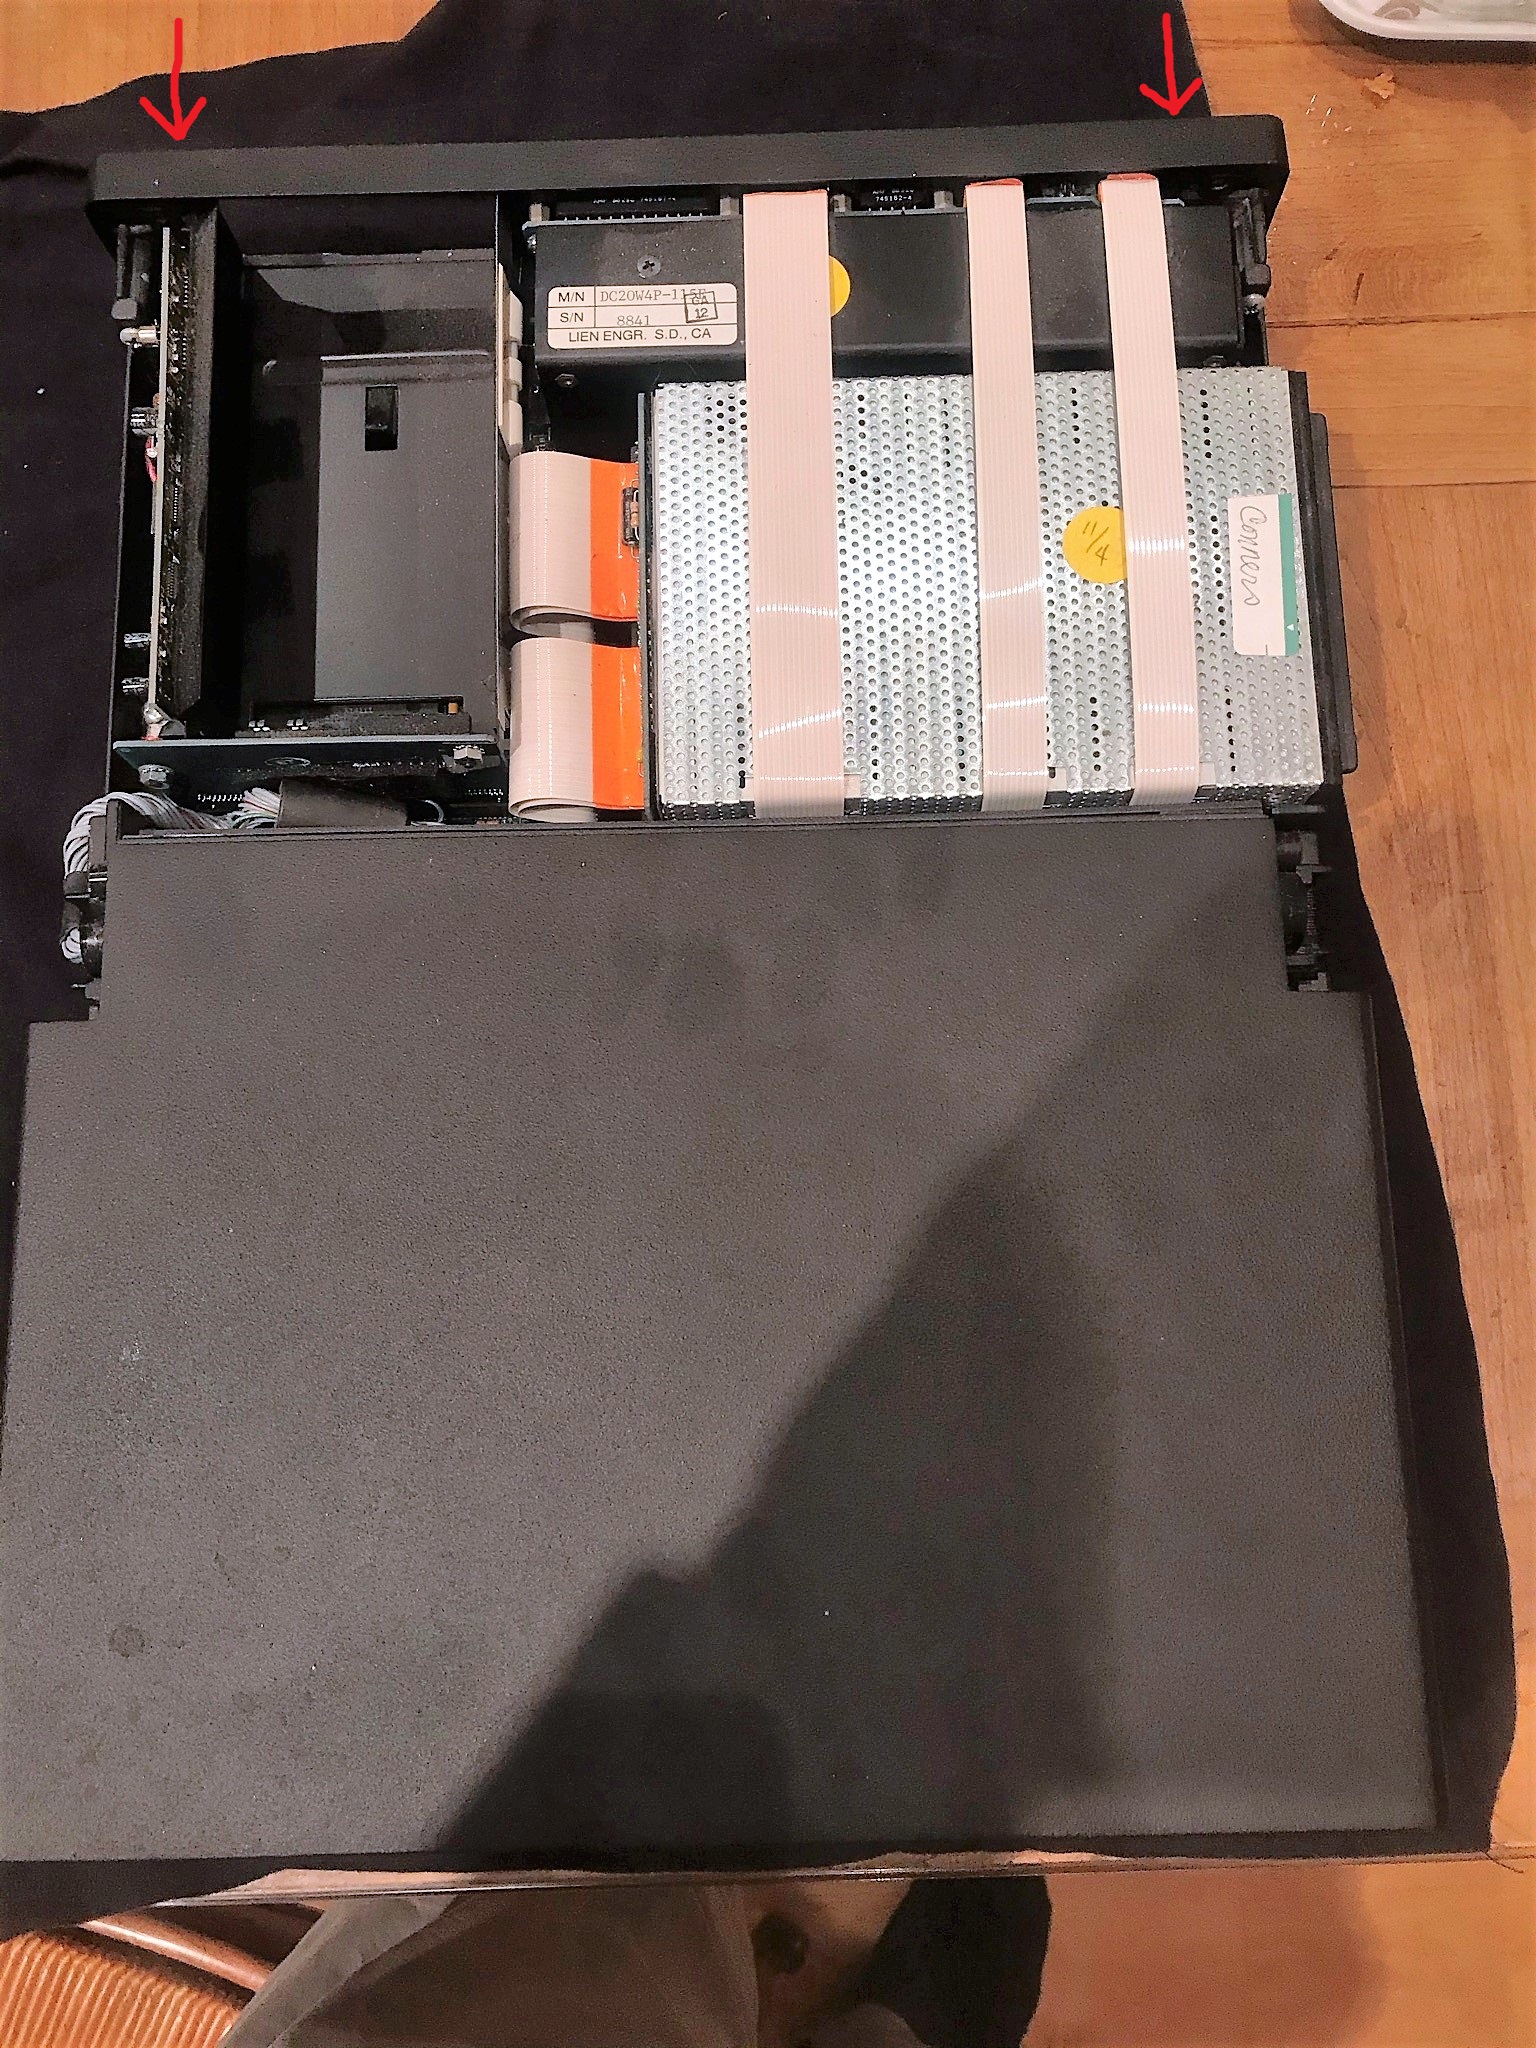
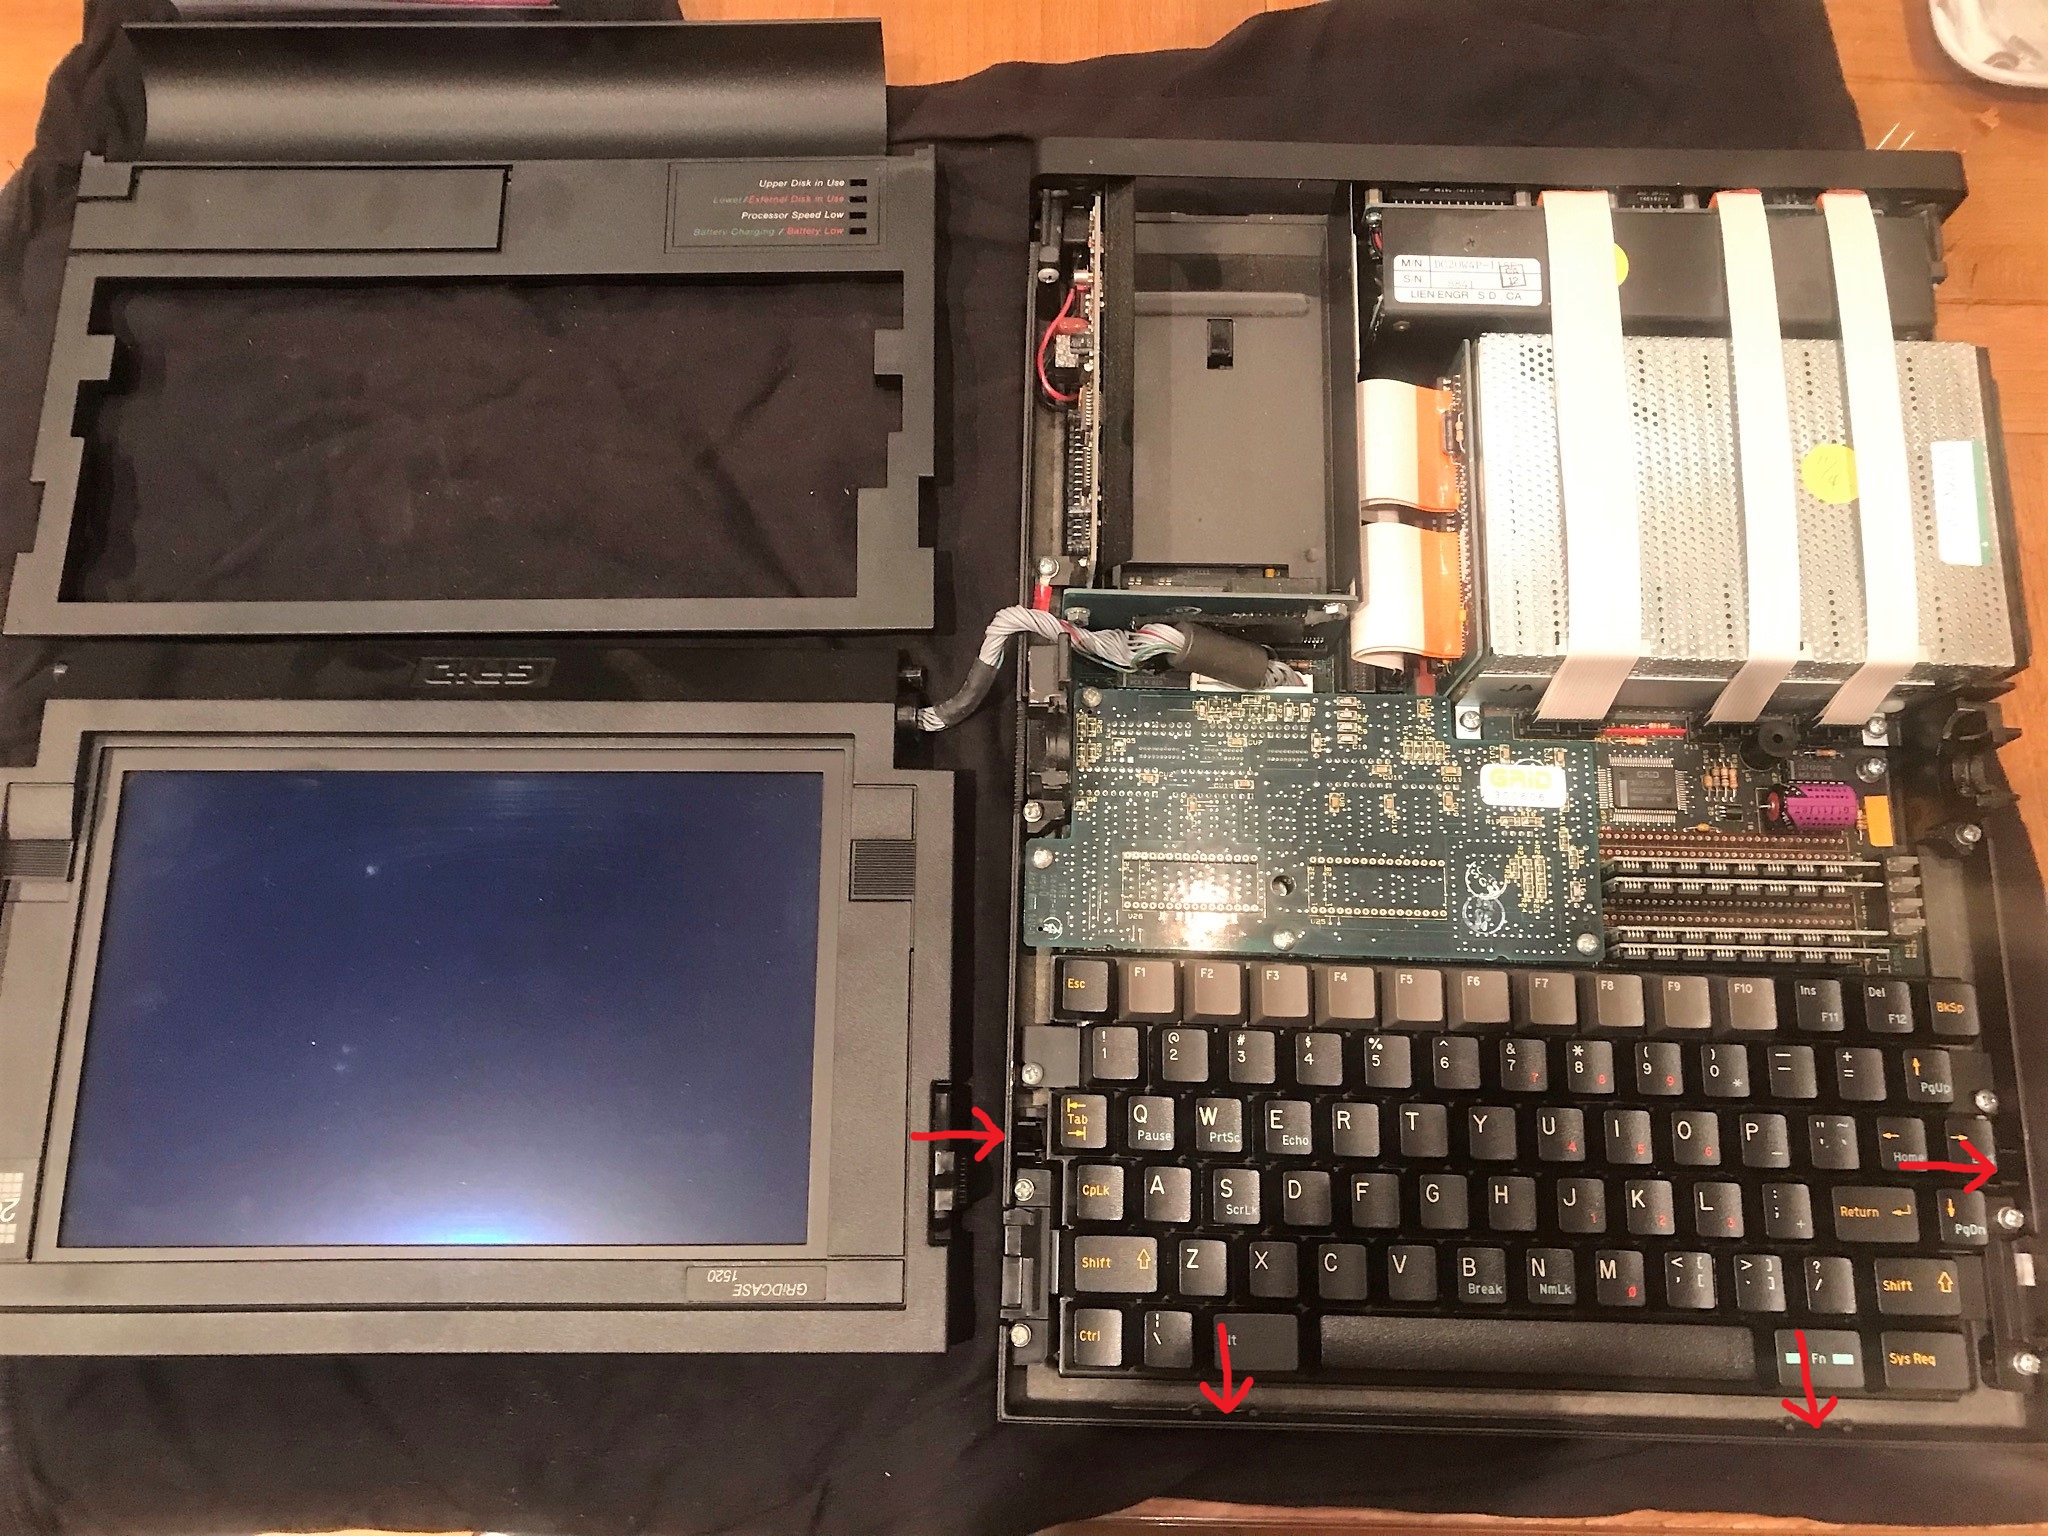
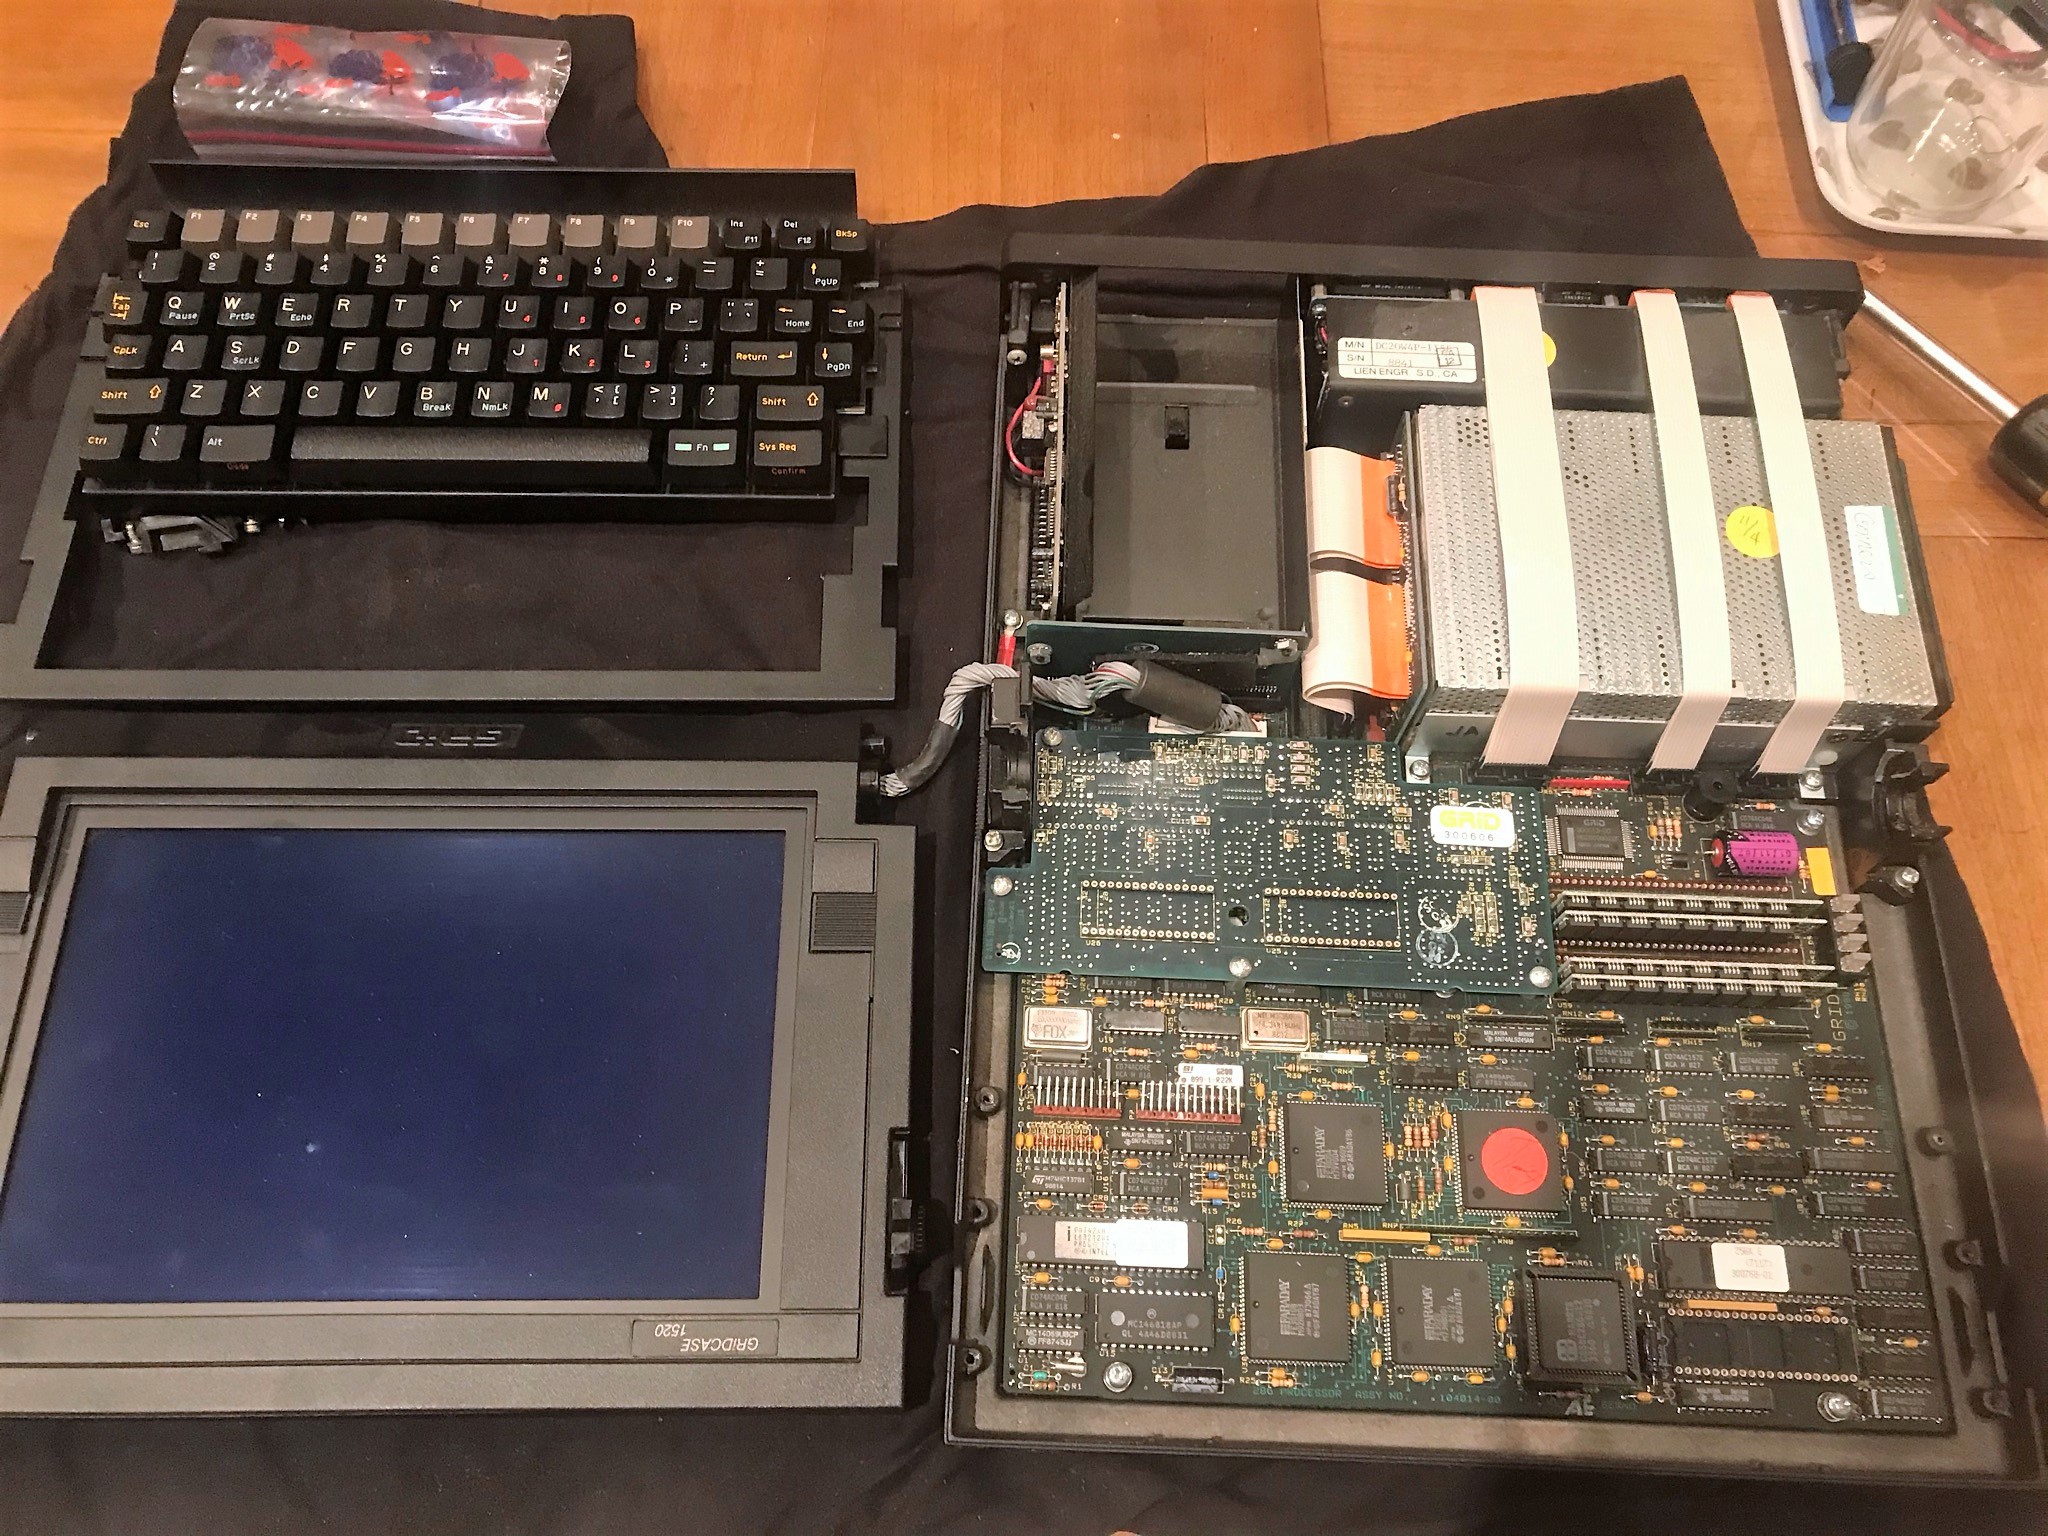
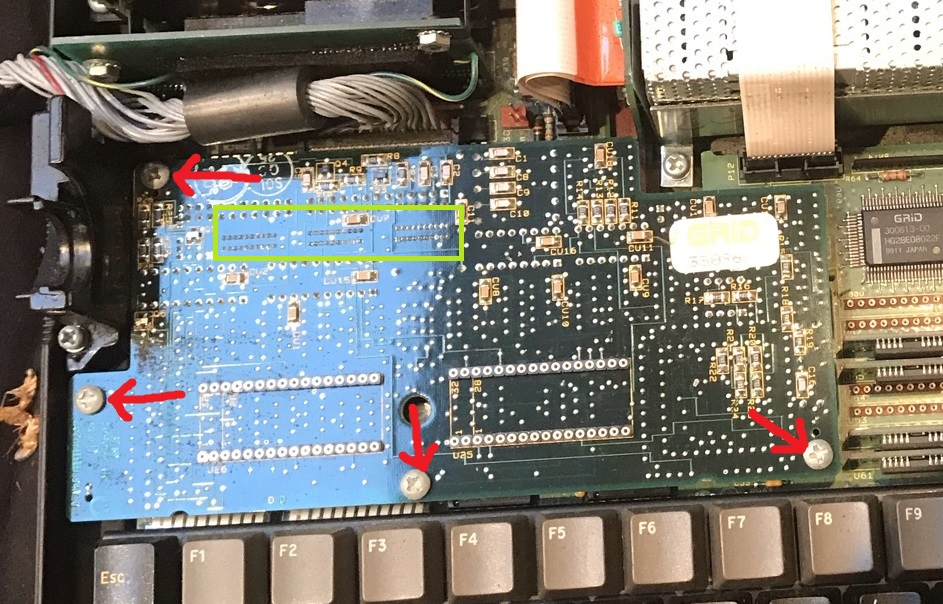

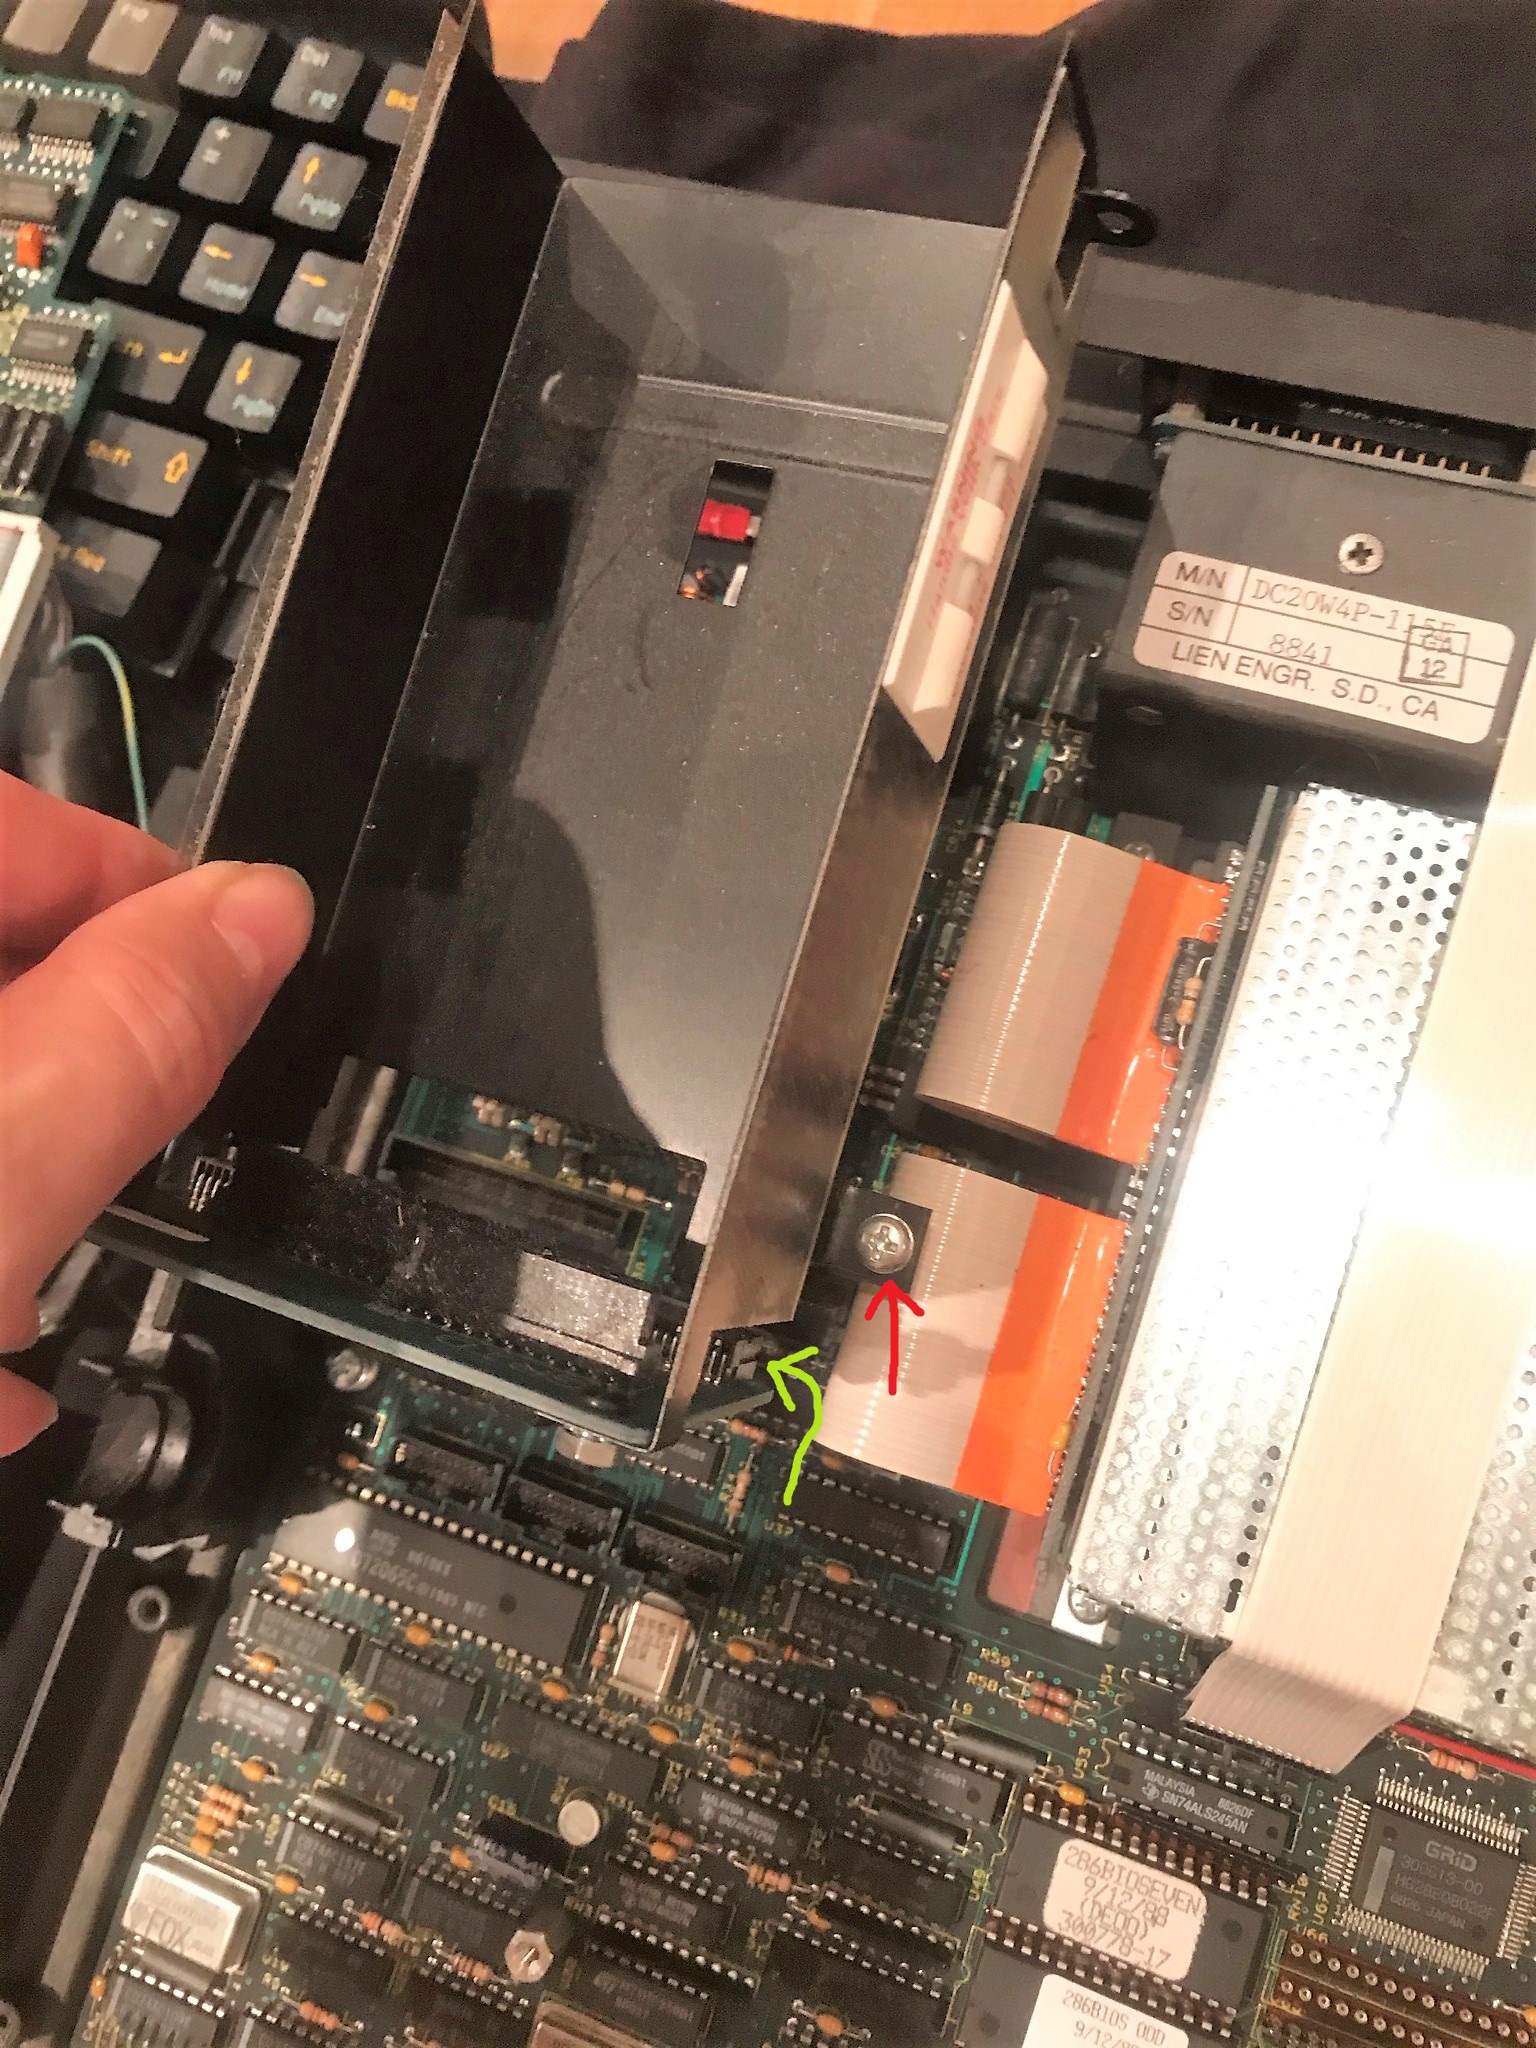
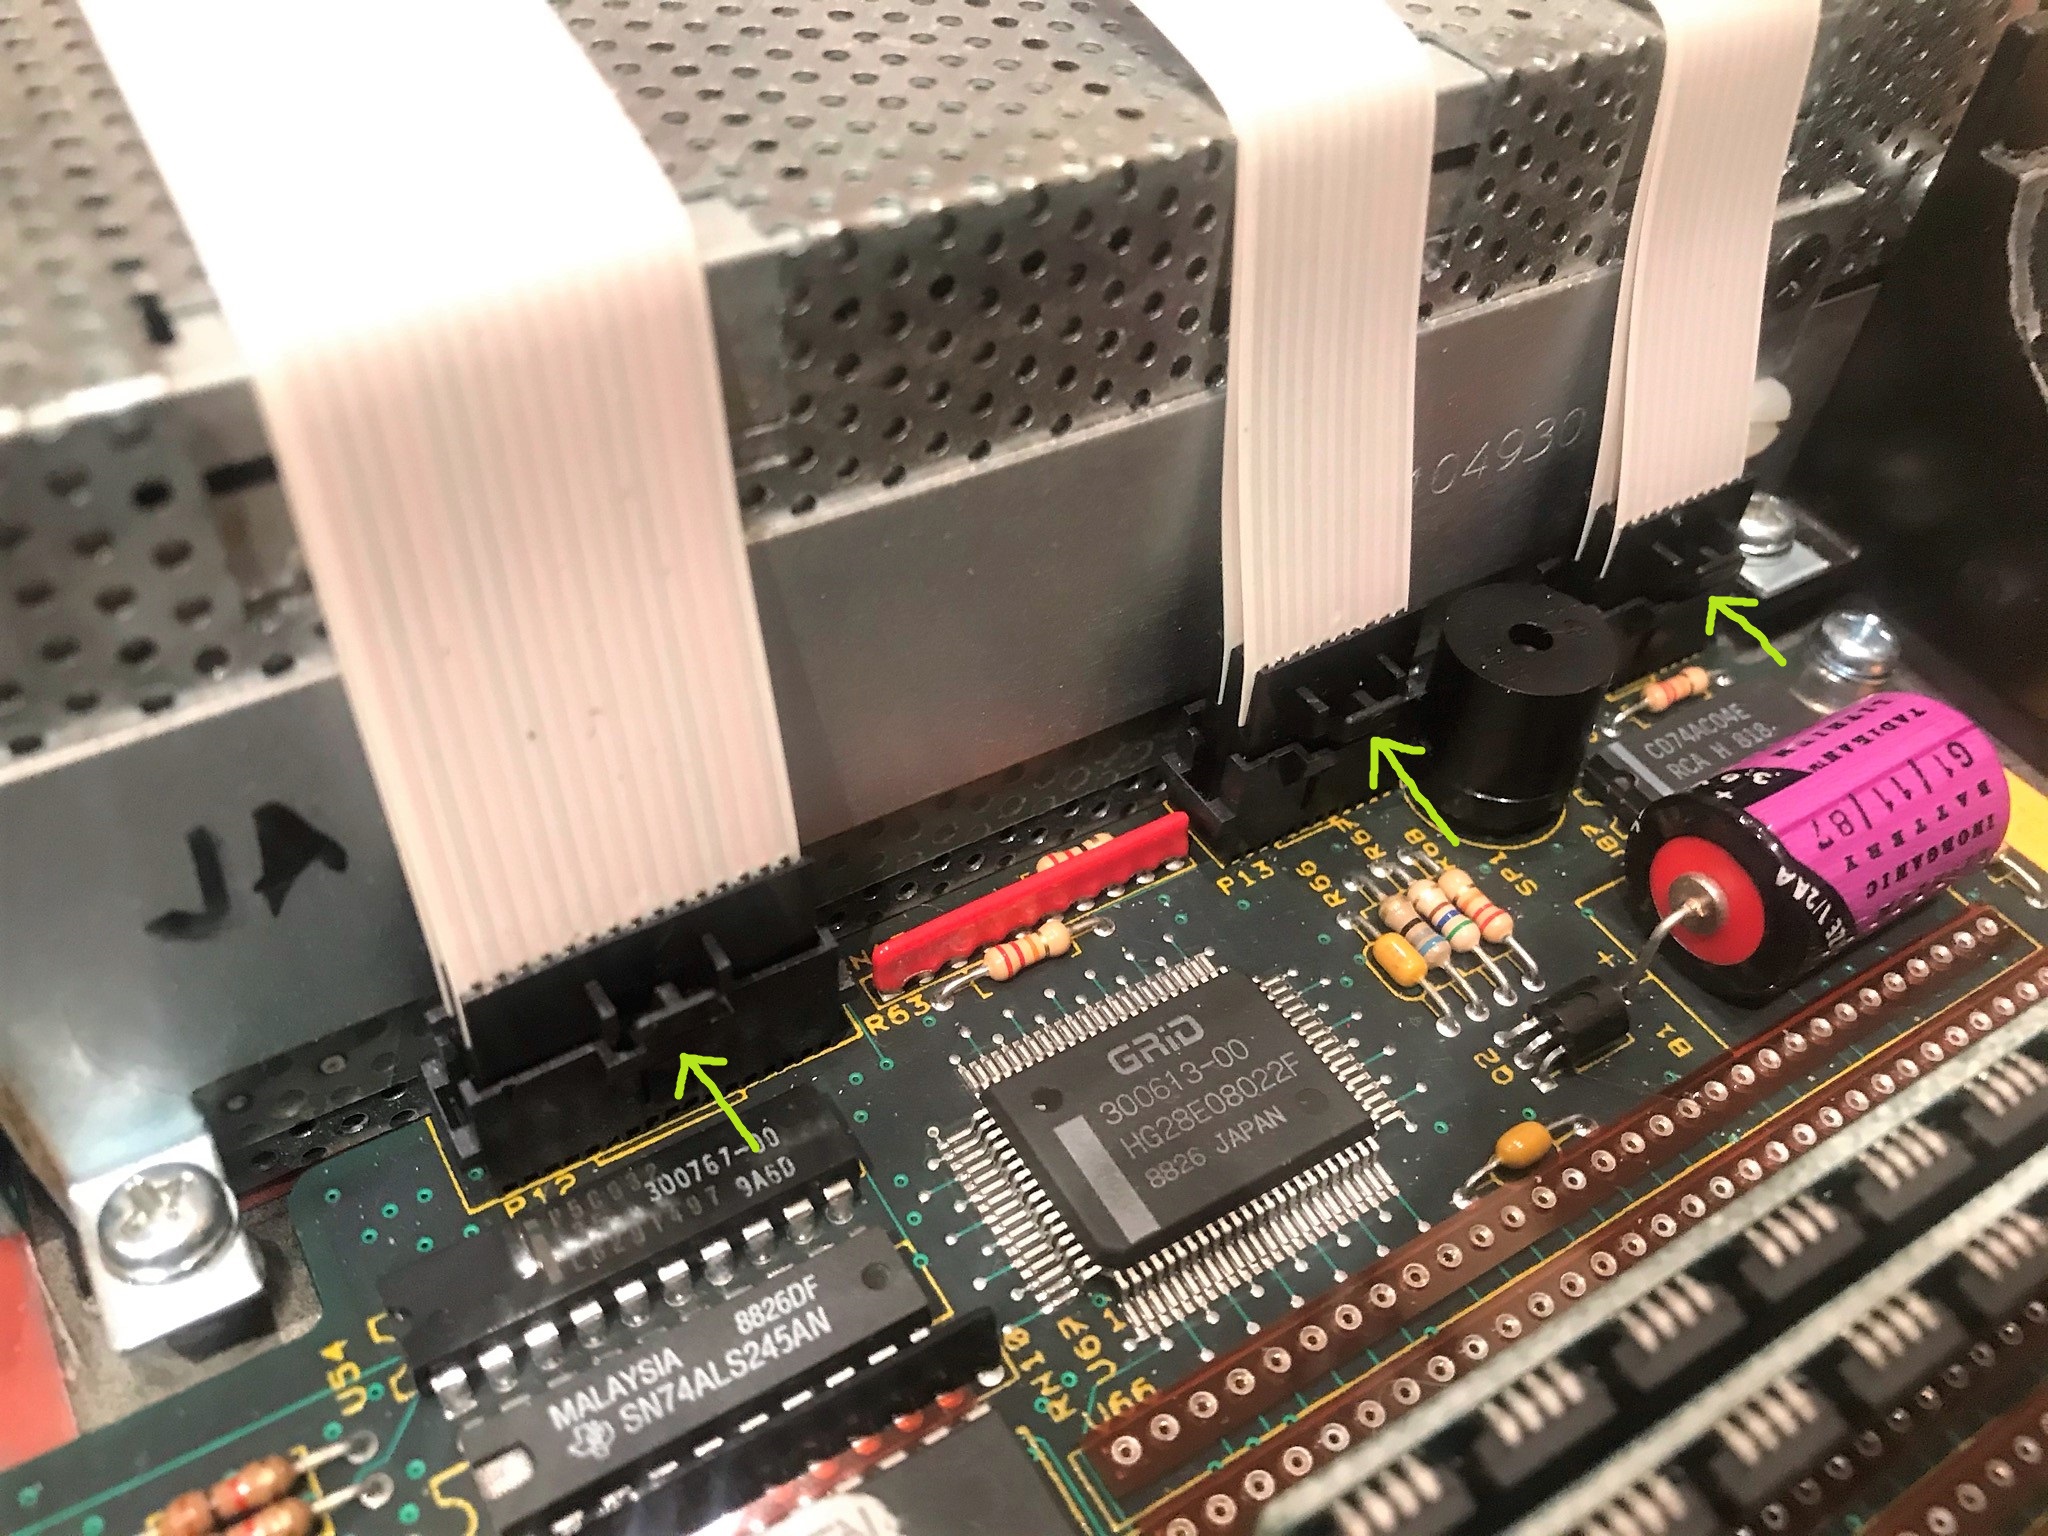
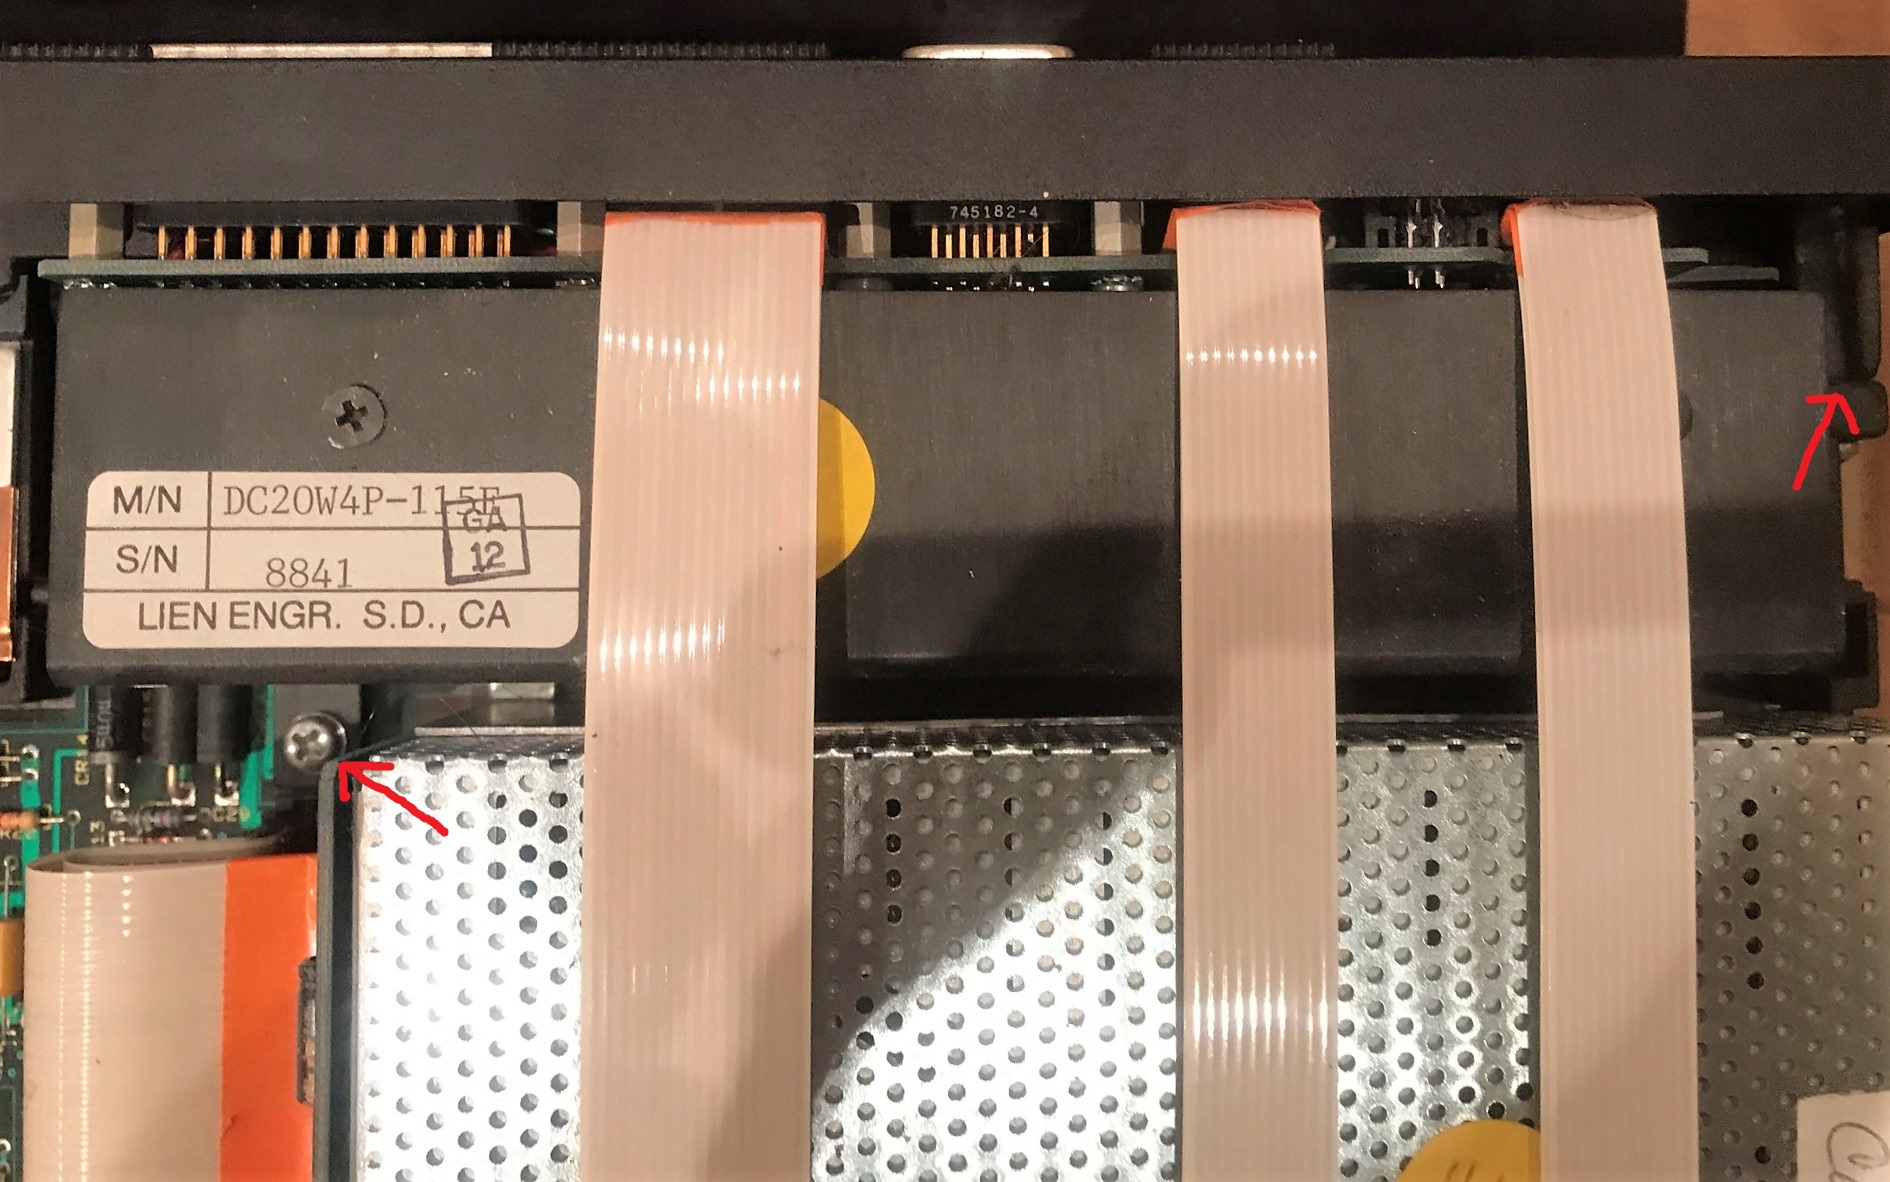
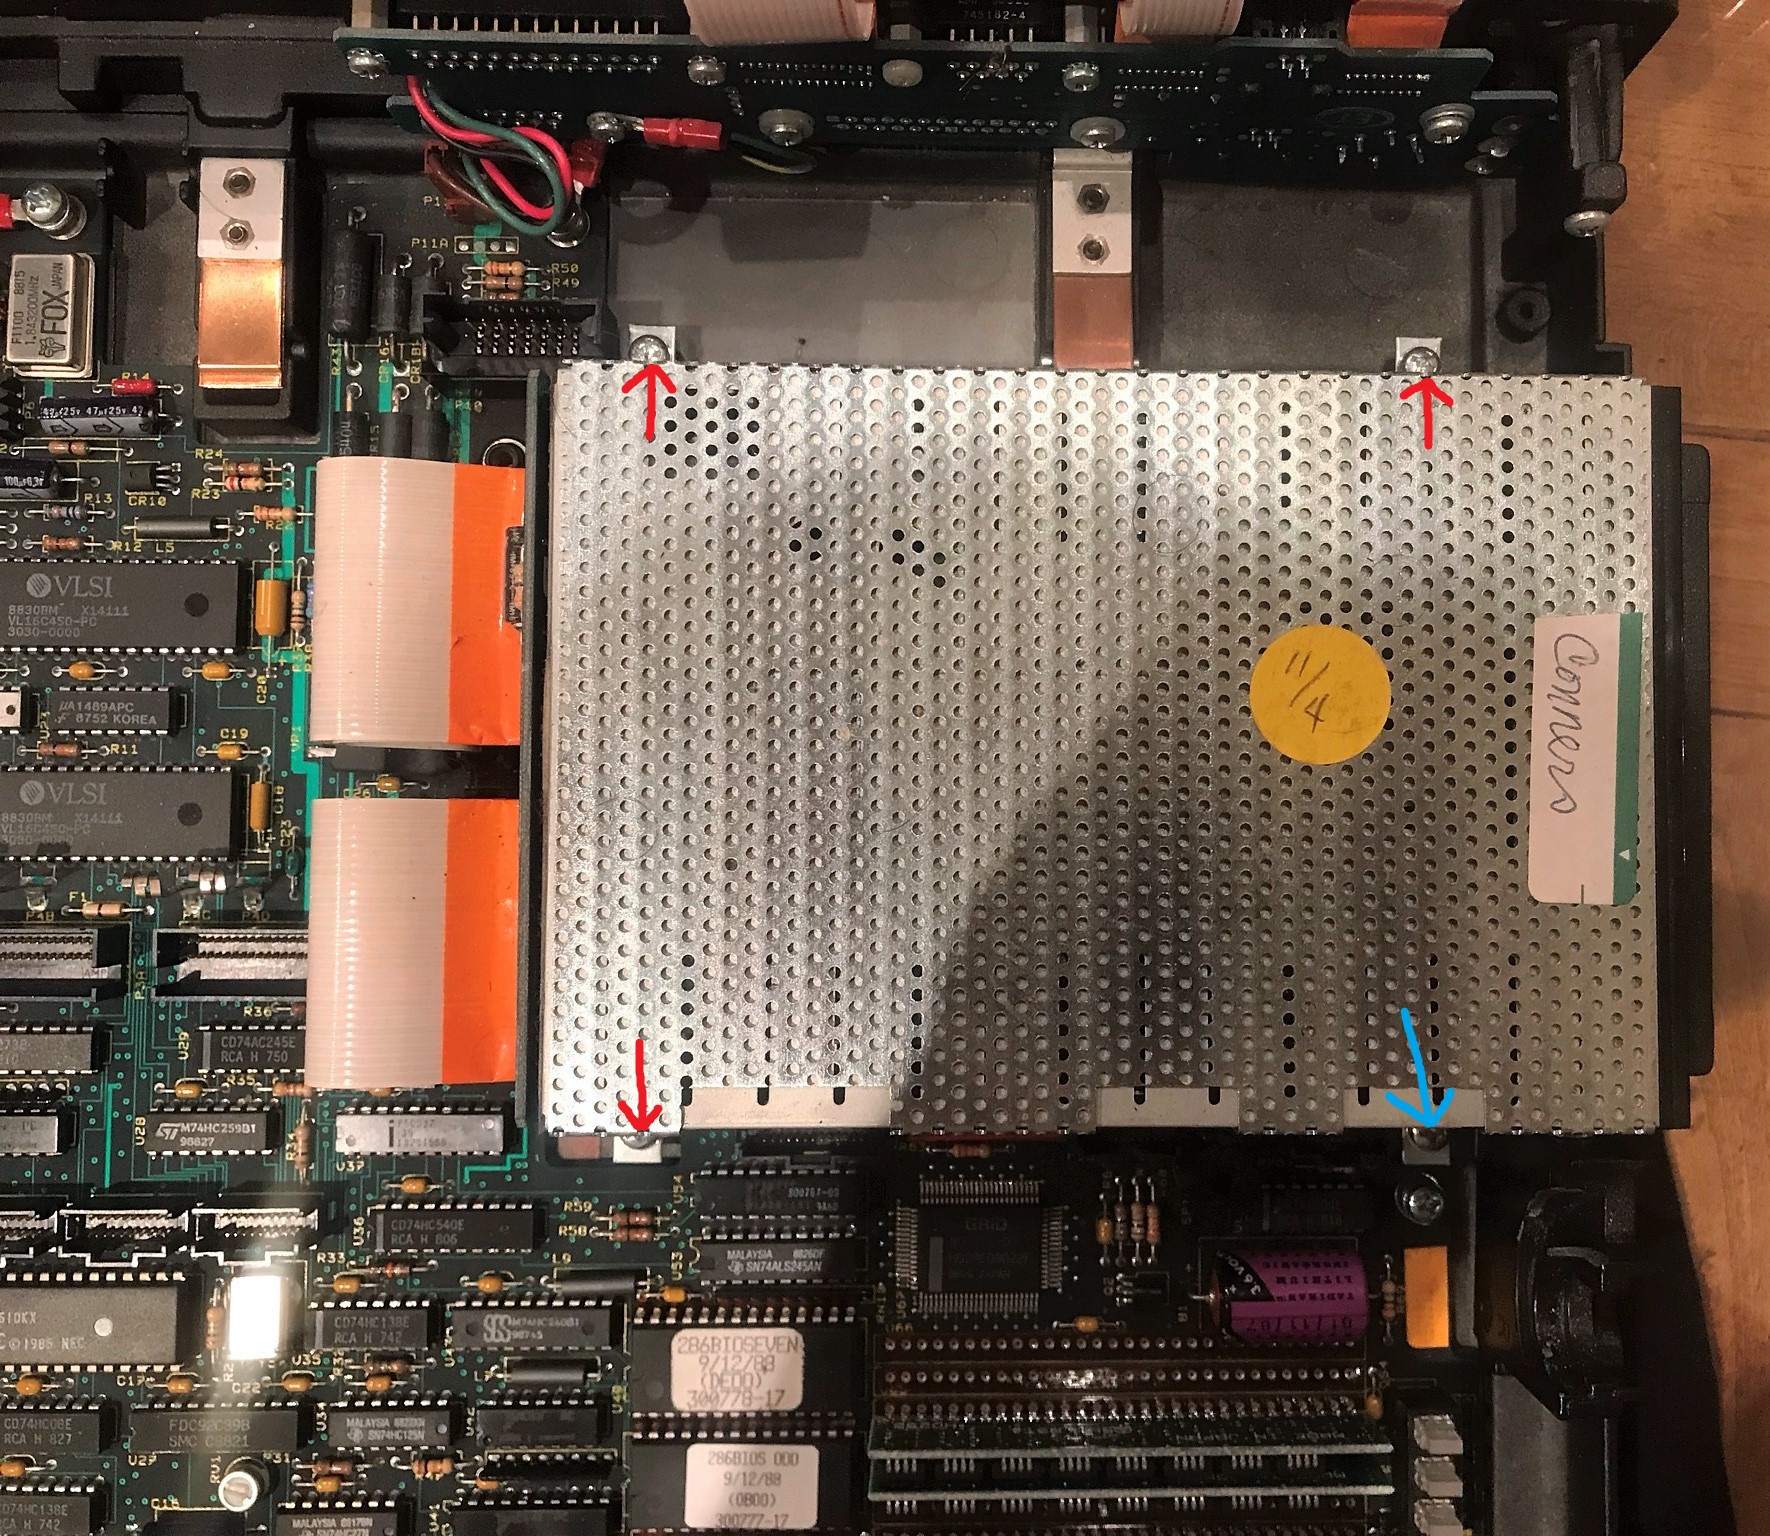
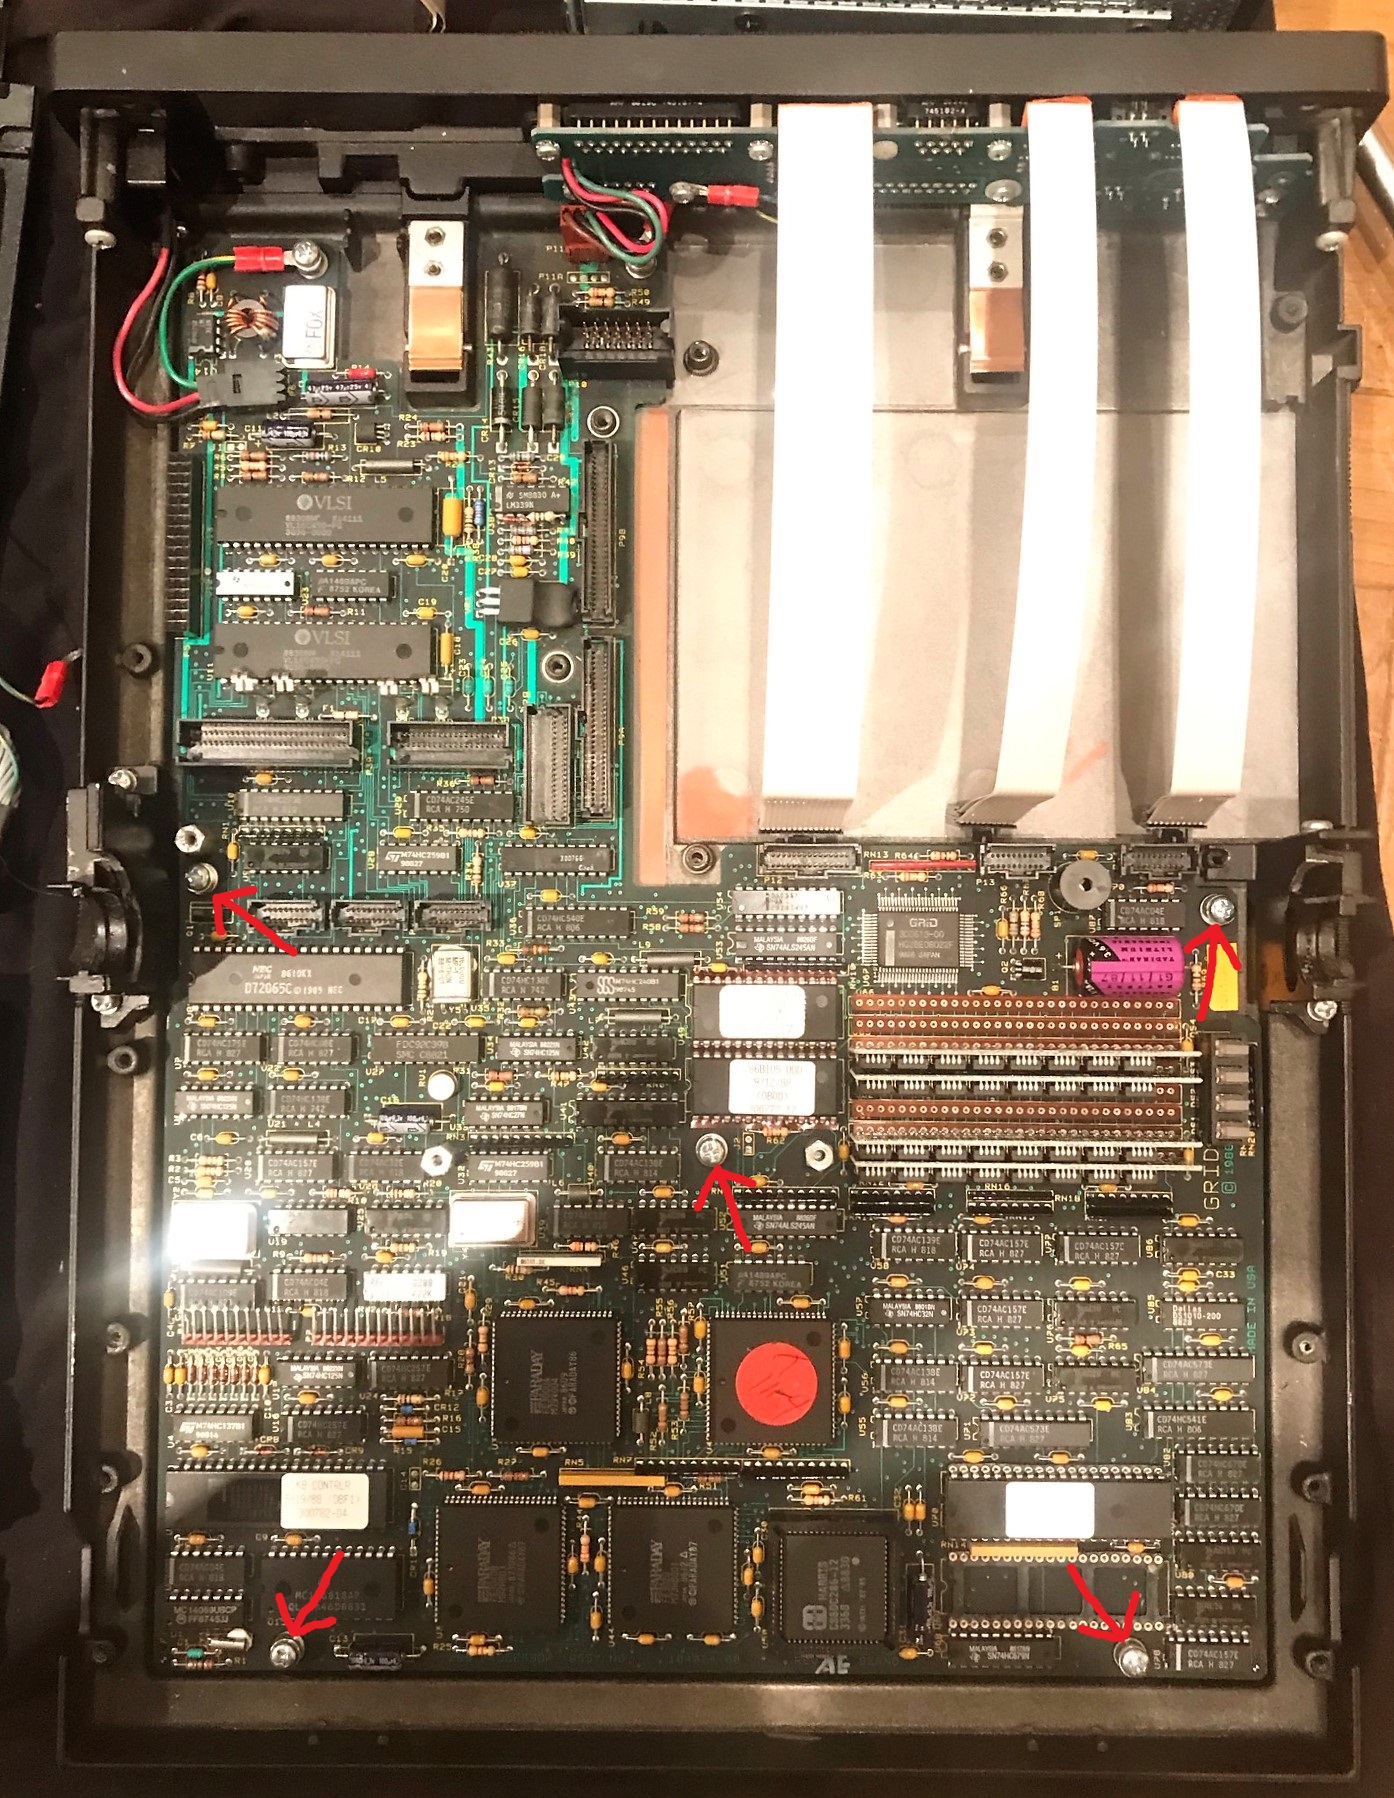
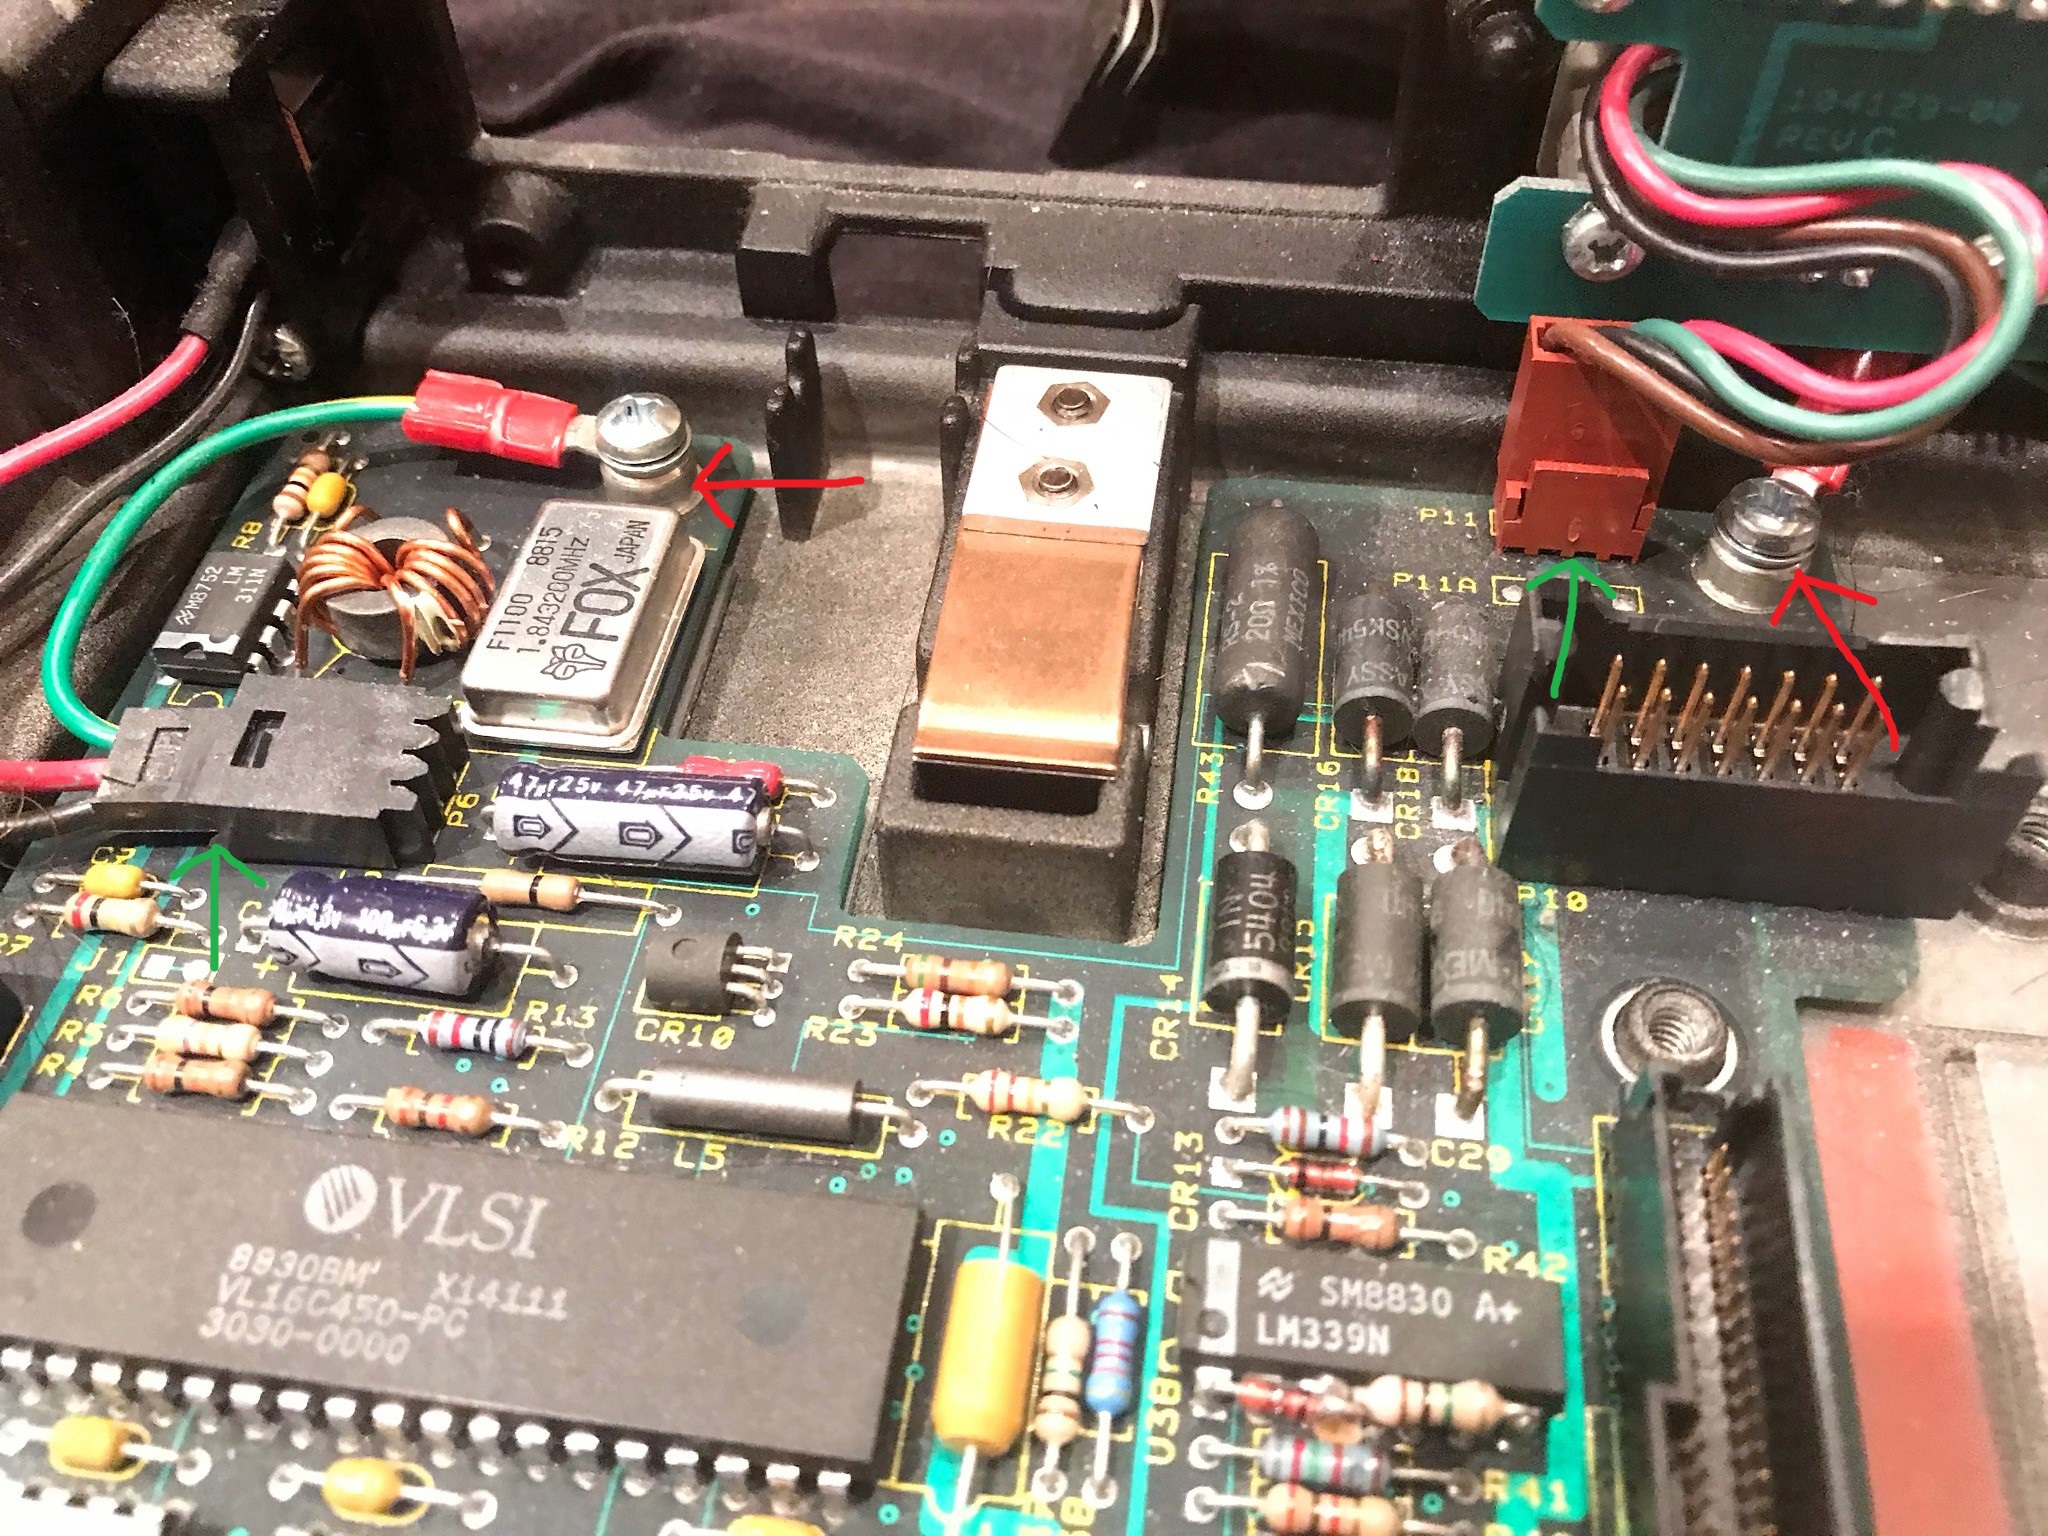
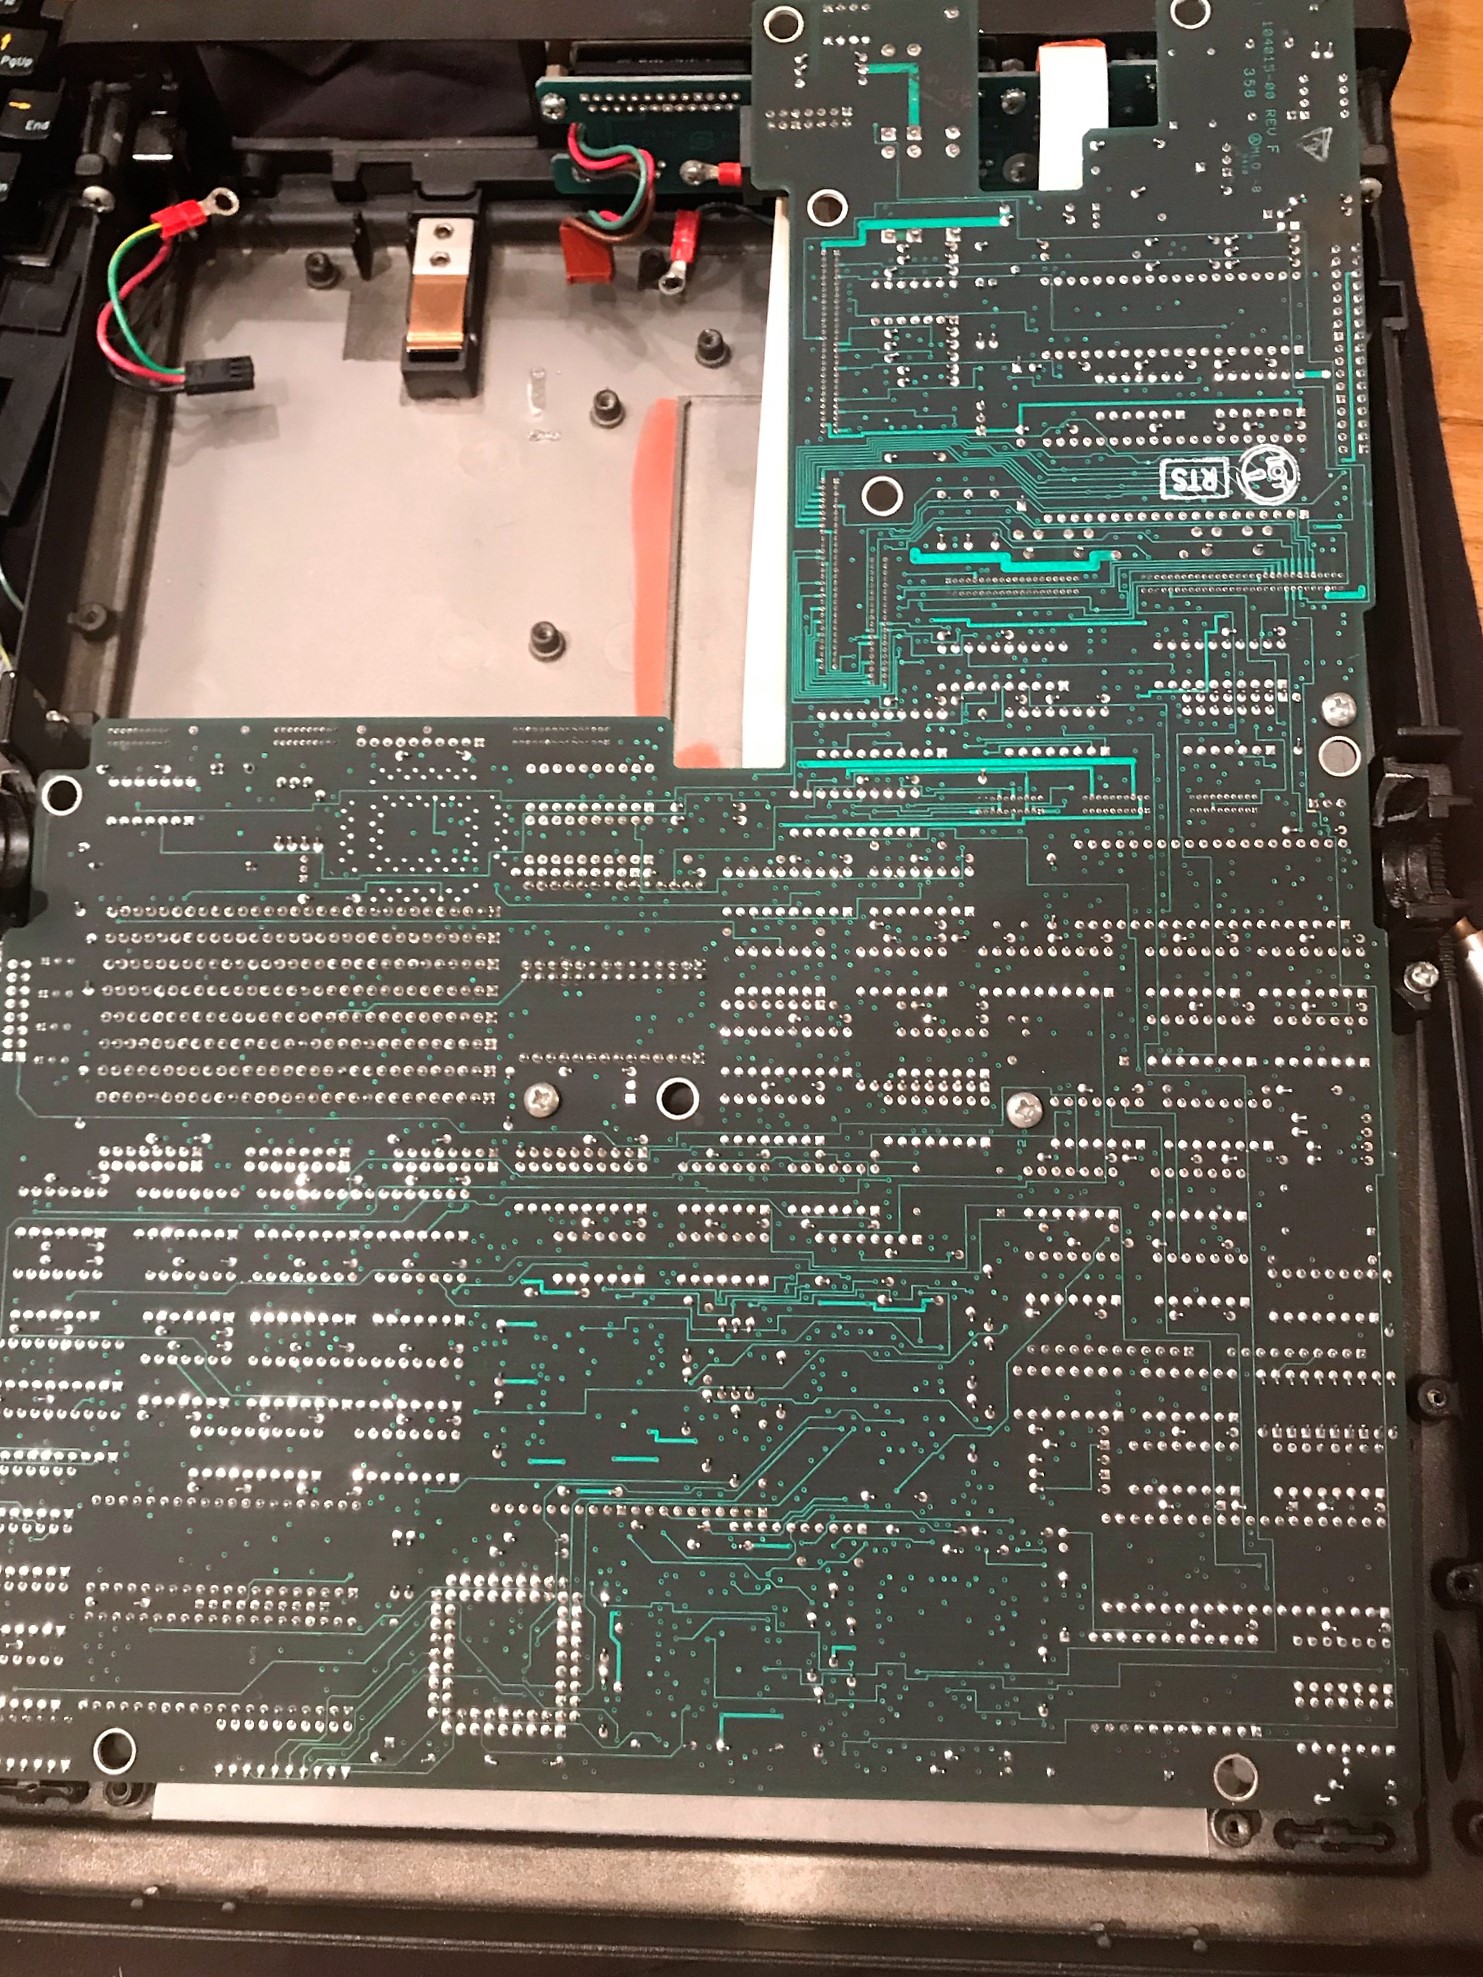
You can now lift the main board out and access both sides to remove/replace the CMOS battery.
Replacing the battery
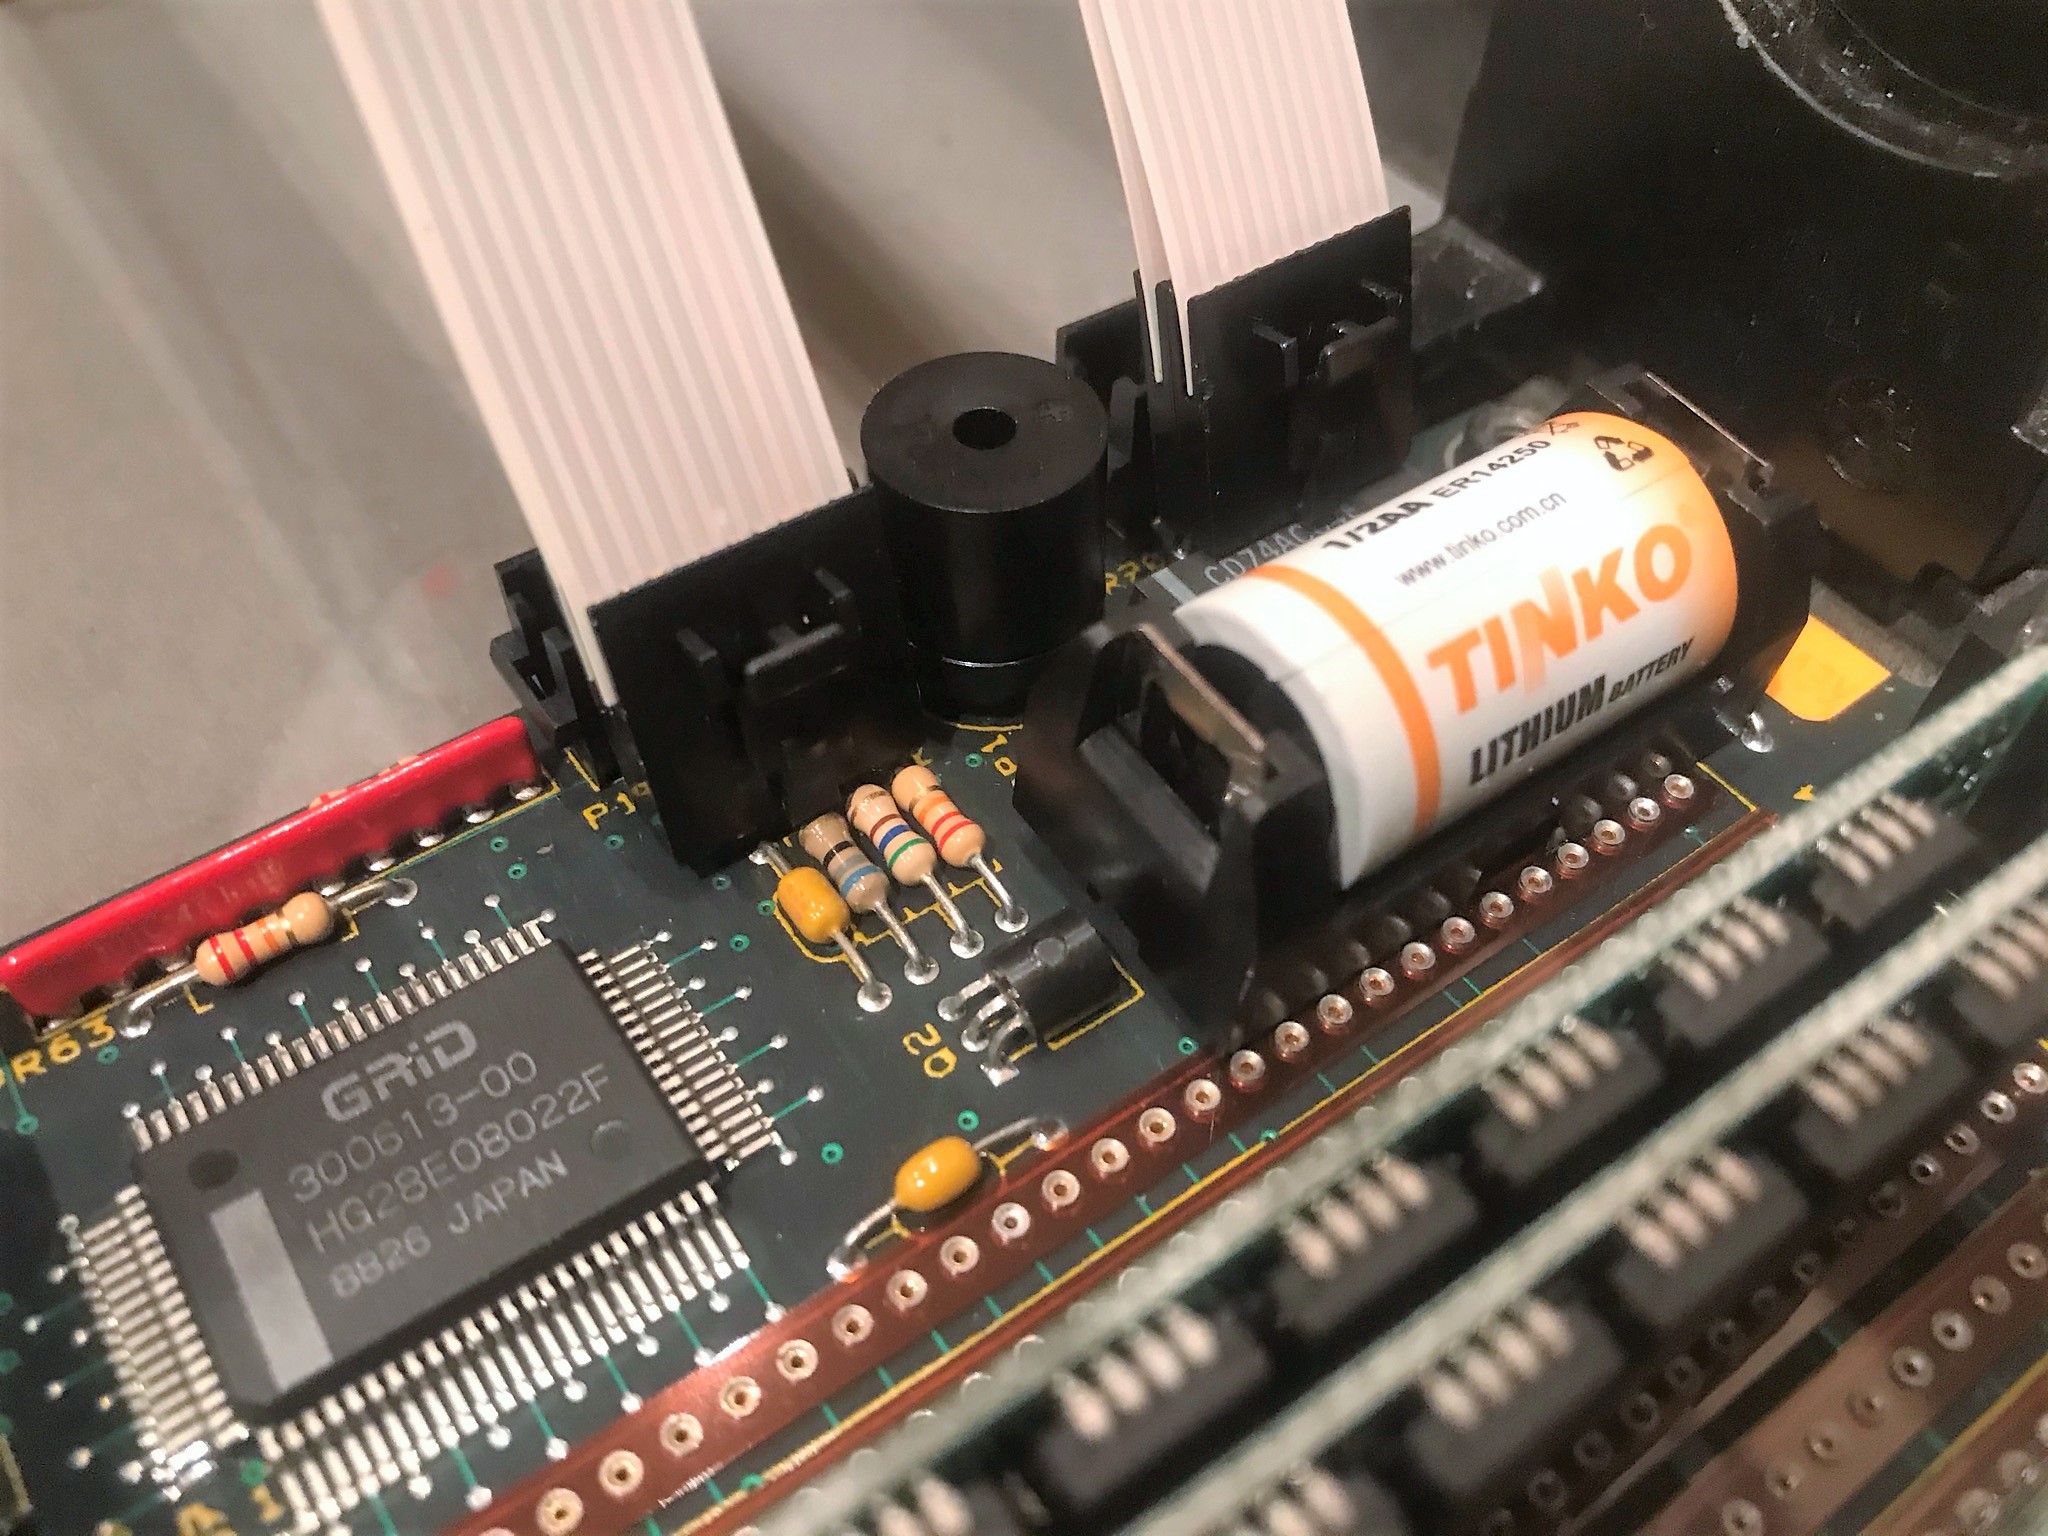
The CMOS battery is a 1/2 AA size 3.6V lithium. I found those with leads soldered to them quite expensive, so instead I got a regular 1/2 AA lithium and a cheap through-hole battery holder. This seemed like a really good idea until I reassembled everything and found the holder with battery was ~2mm too tall for the keyboard bezel and screen to close properly. I ended up having to sand down the bottom of the battery holder to make it fit :-(
Reassembly
Reassembly is the reverse of disassembly. Remember that you took it apart; you can put it back together again. By all means, do not use a hammer.
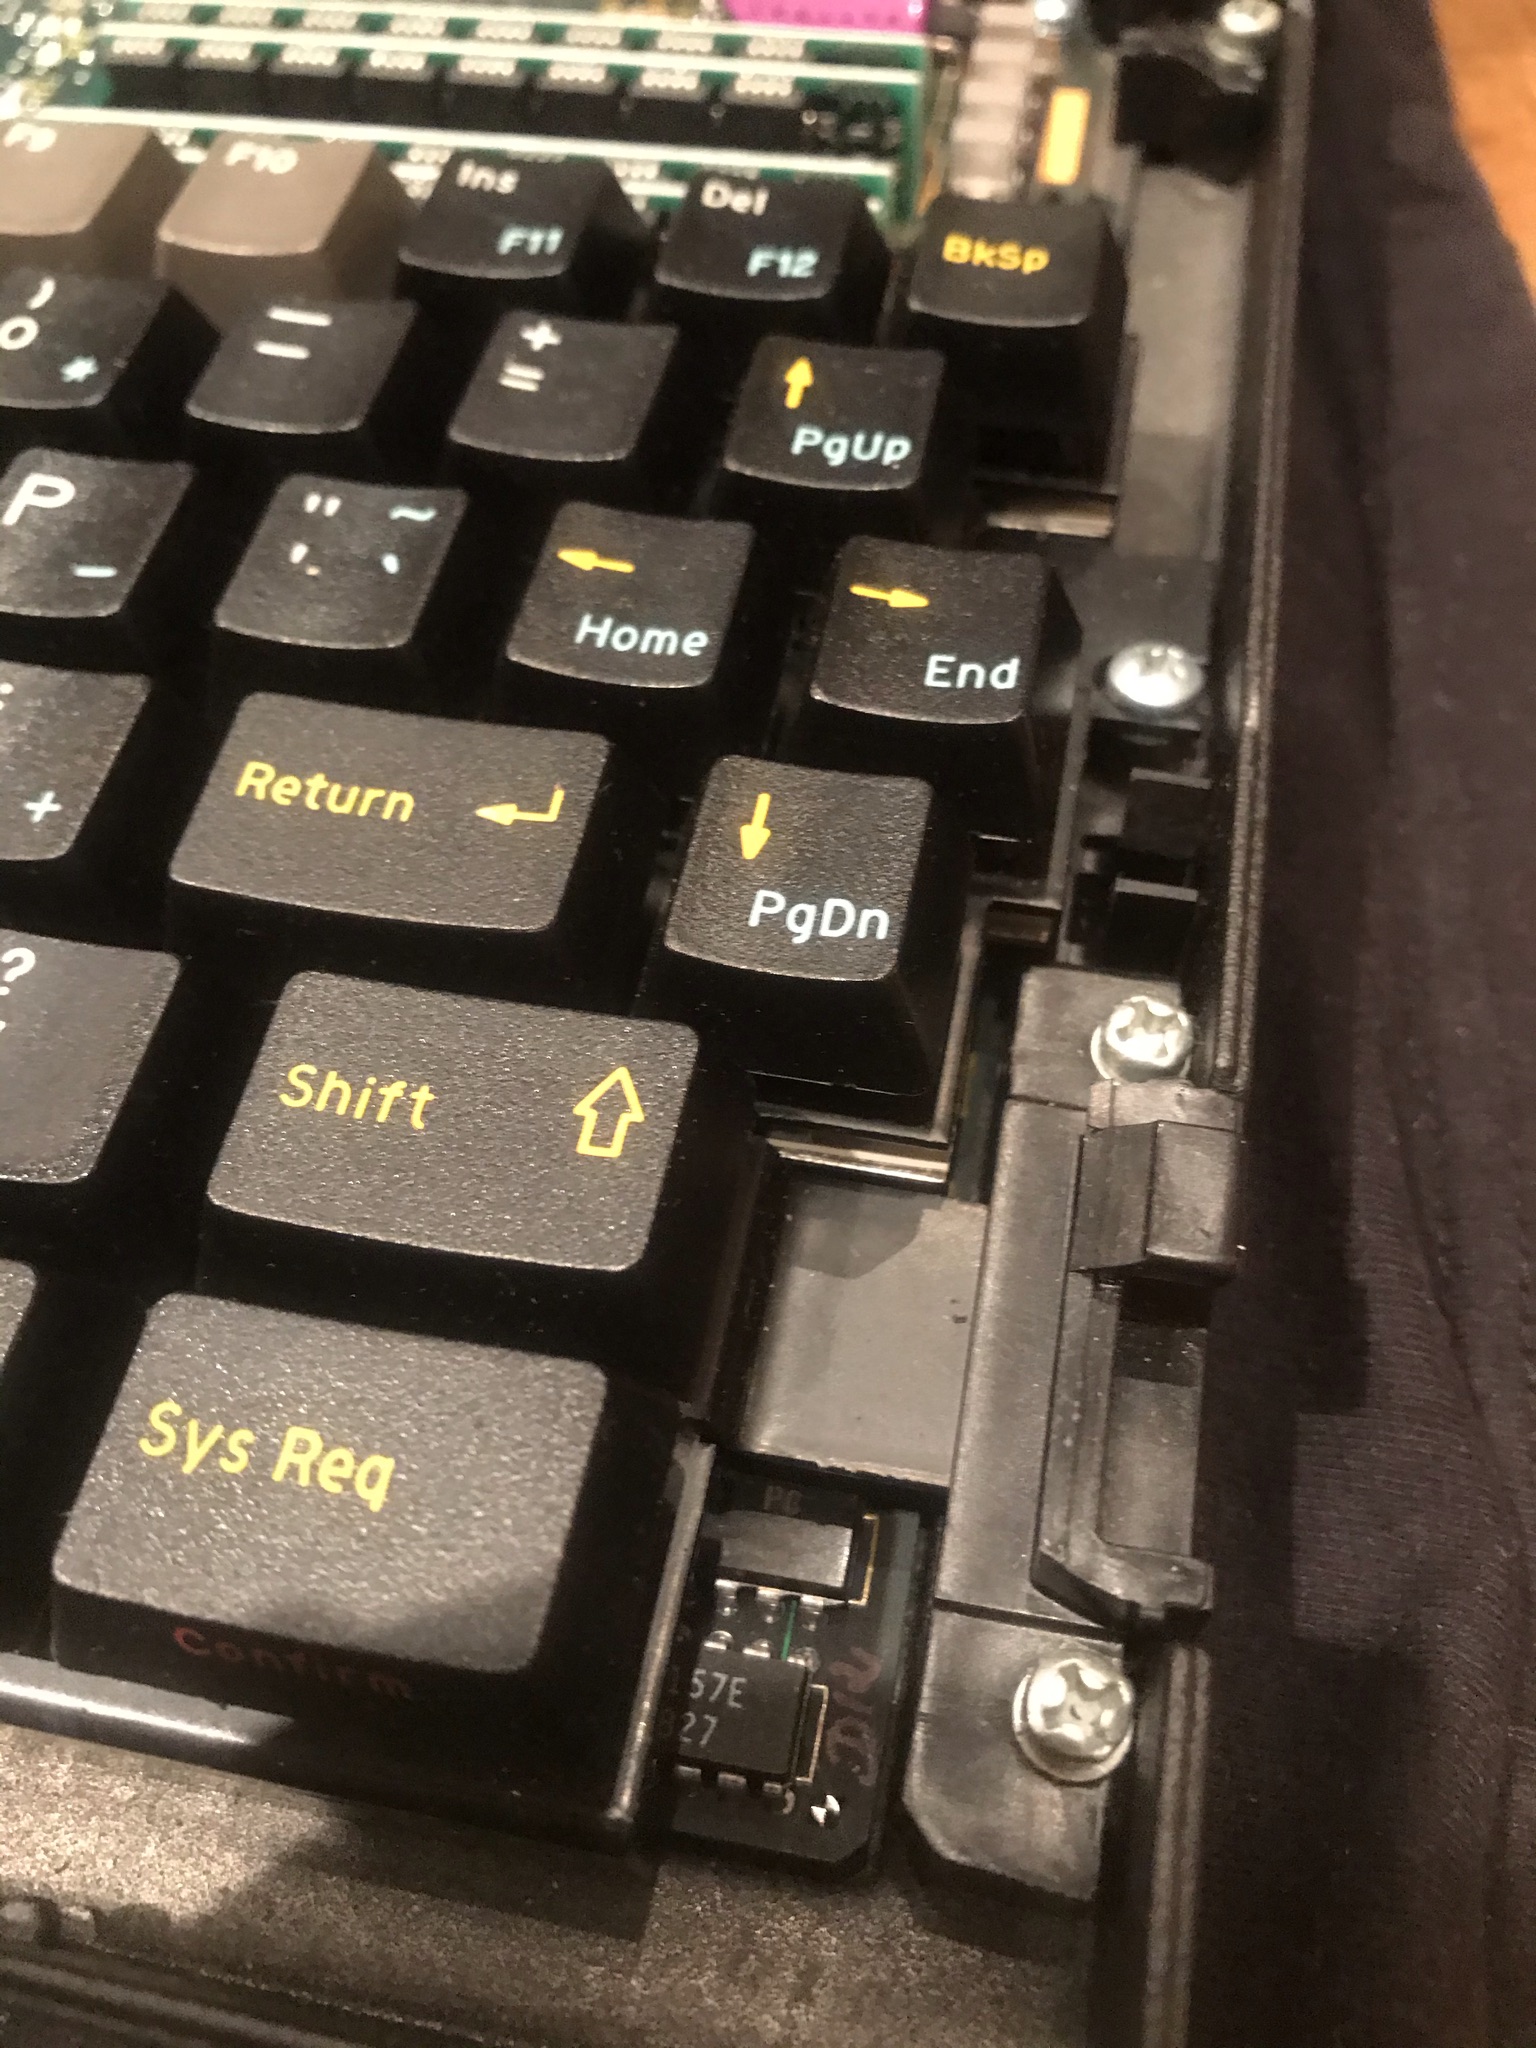
- Watch out for the one longer screw on the drive assembler: it goes in the lower-right.
- When replacing the top-rear cover, drop it into place making sure the display cables are tucked into their hinge recess. Insert the two rear screws and tighten while applying plenty of pressure to the display hinges: the top-rear case has small tabs that need to be pulled by the screws into the hinge moulding.
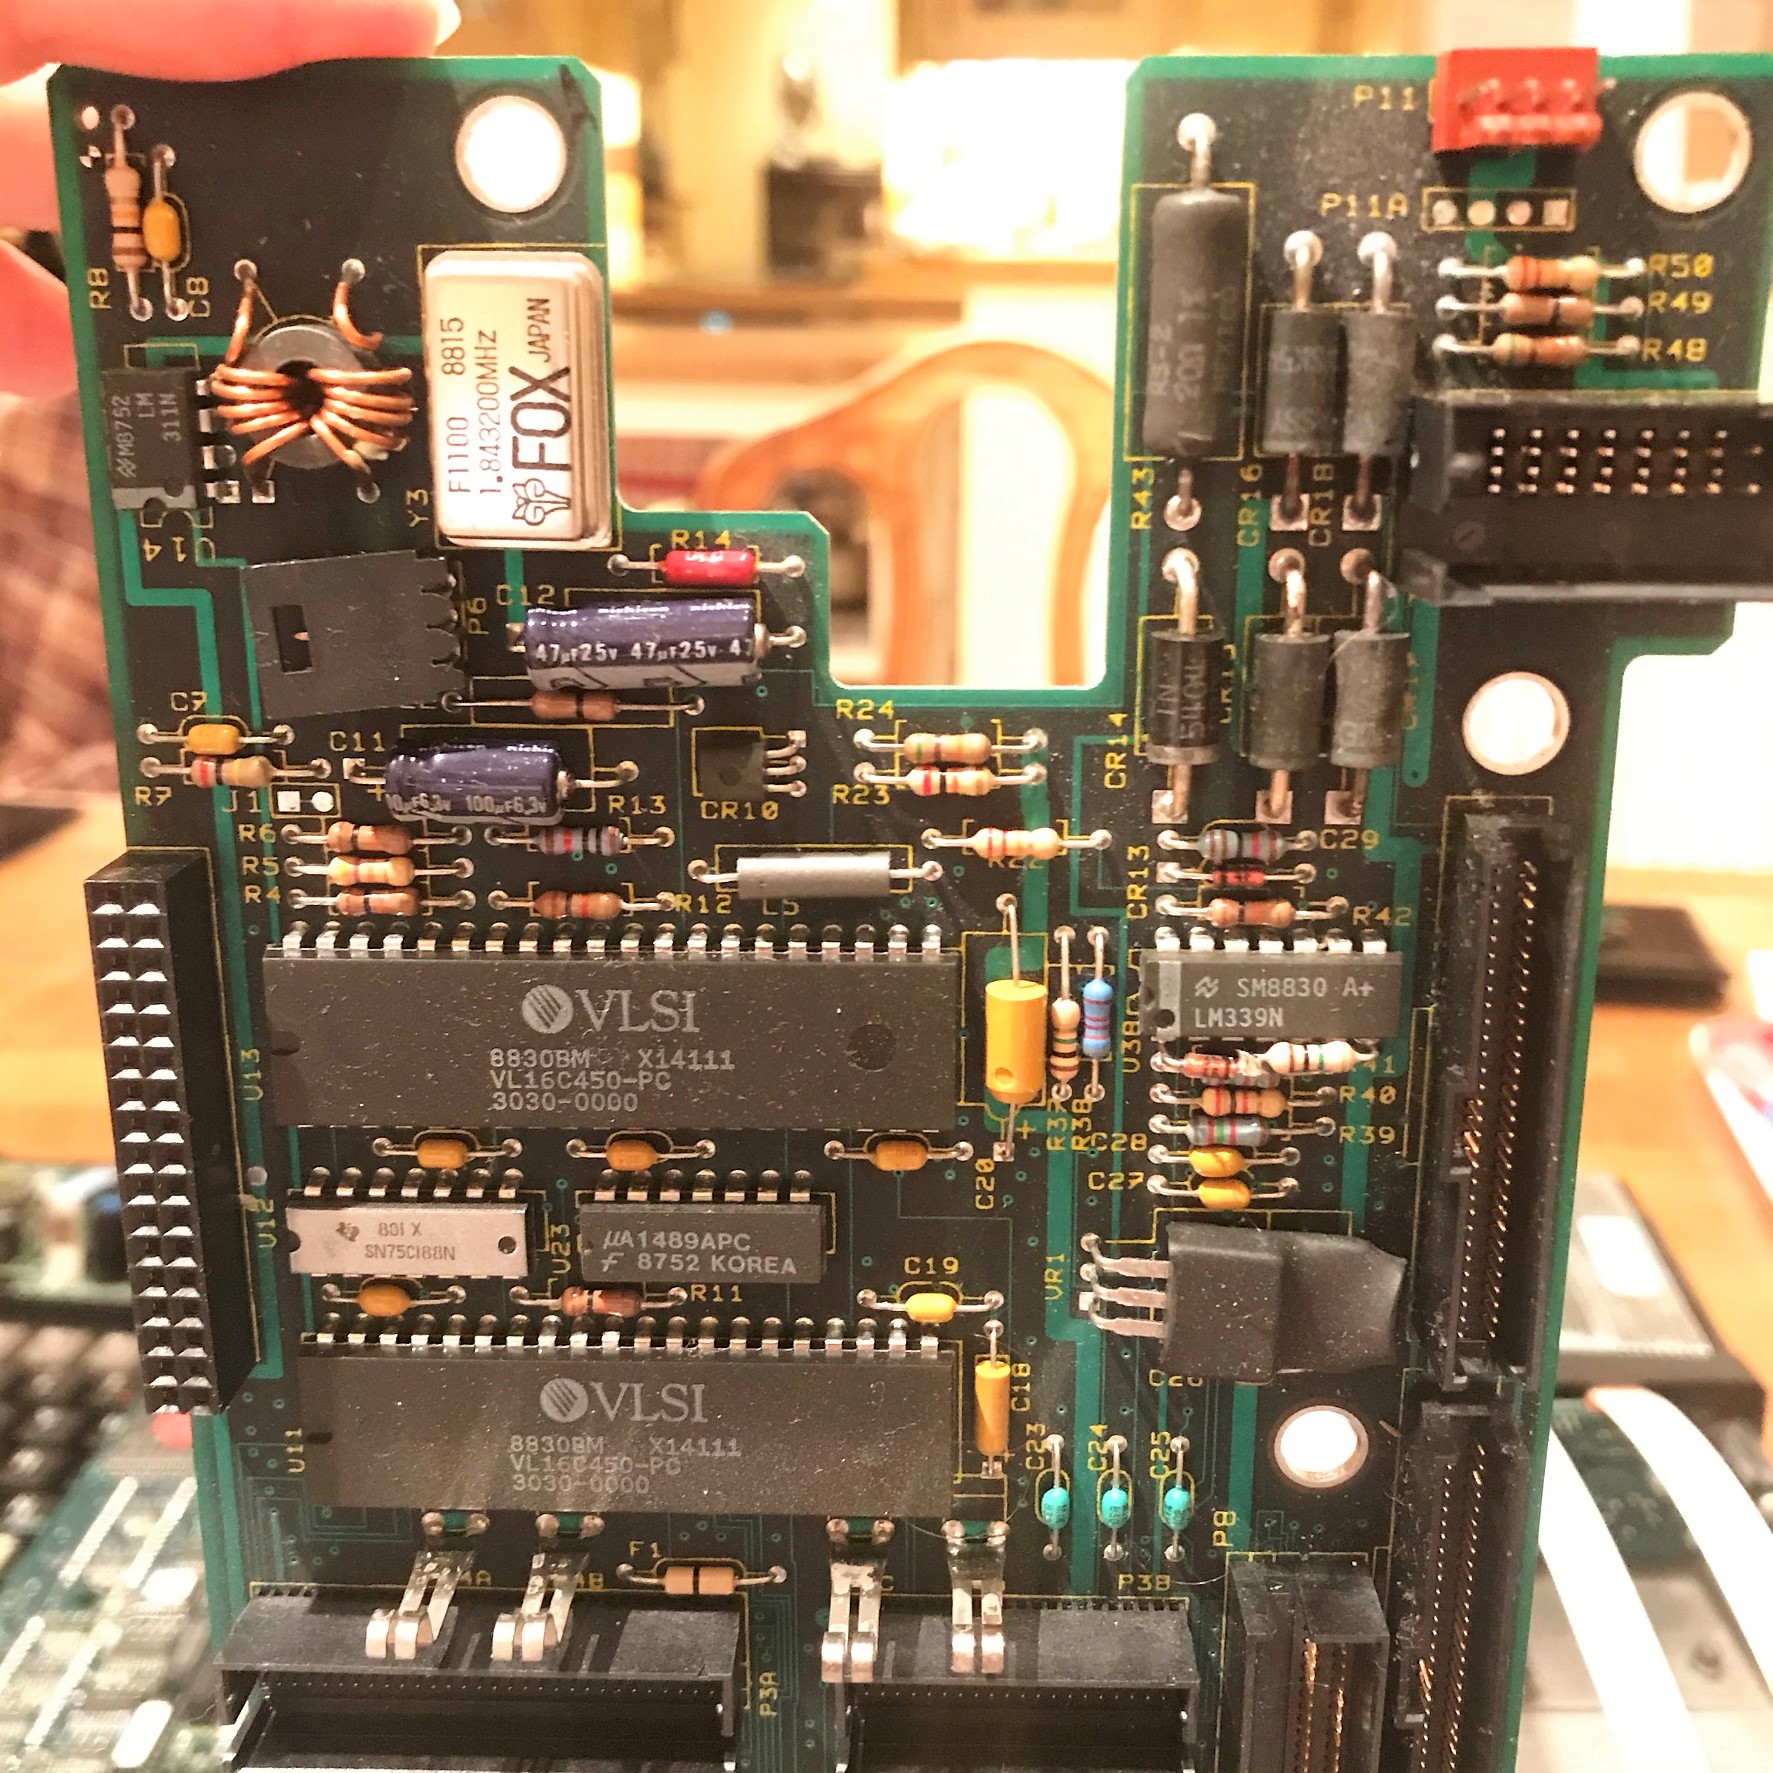
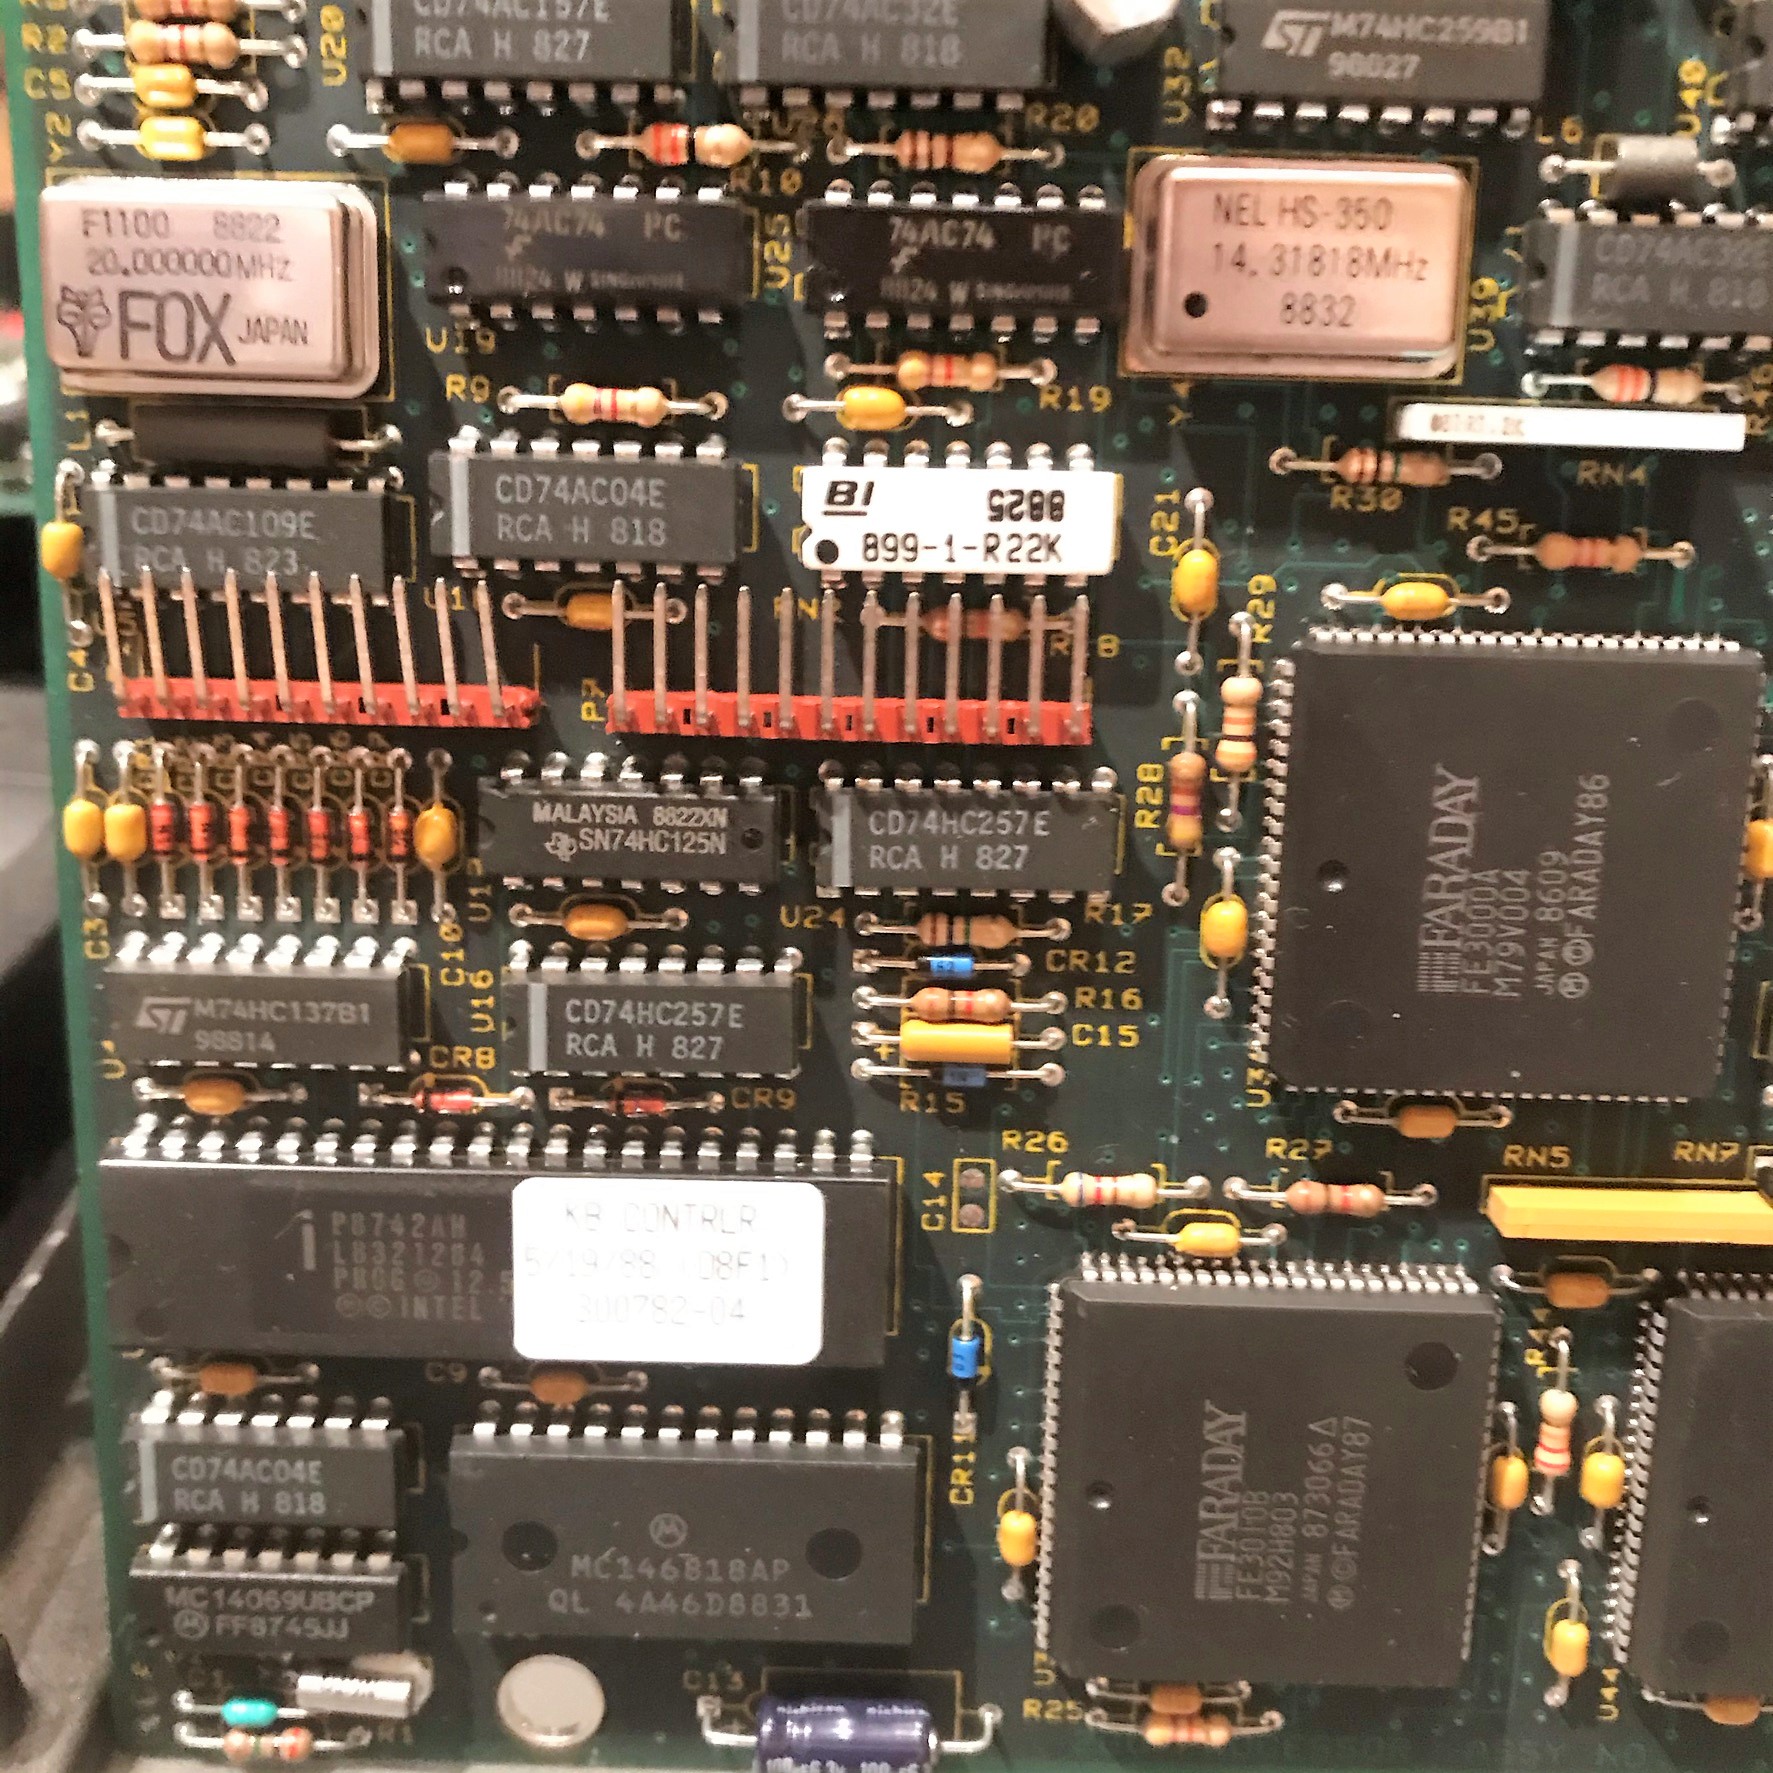
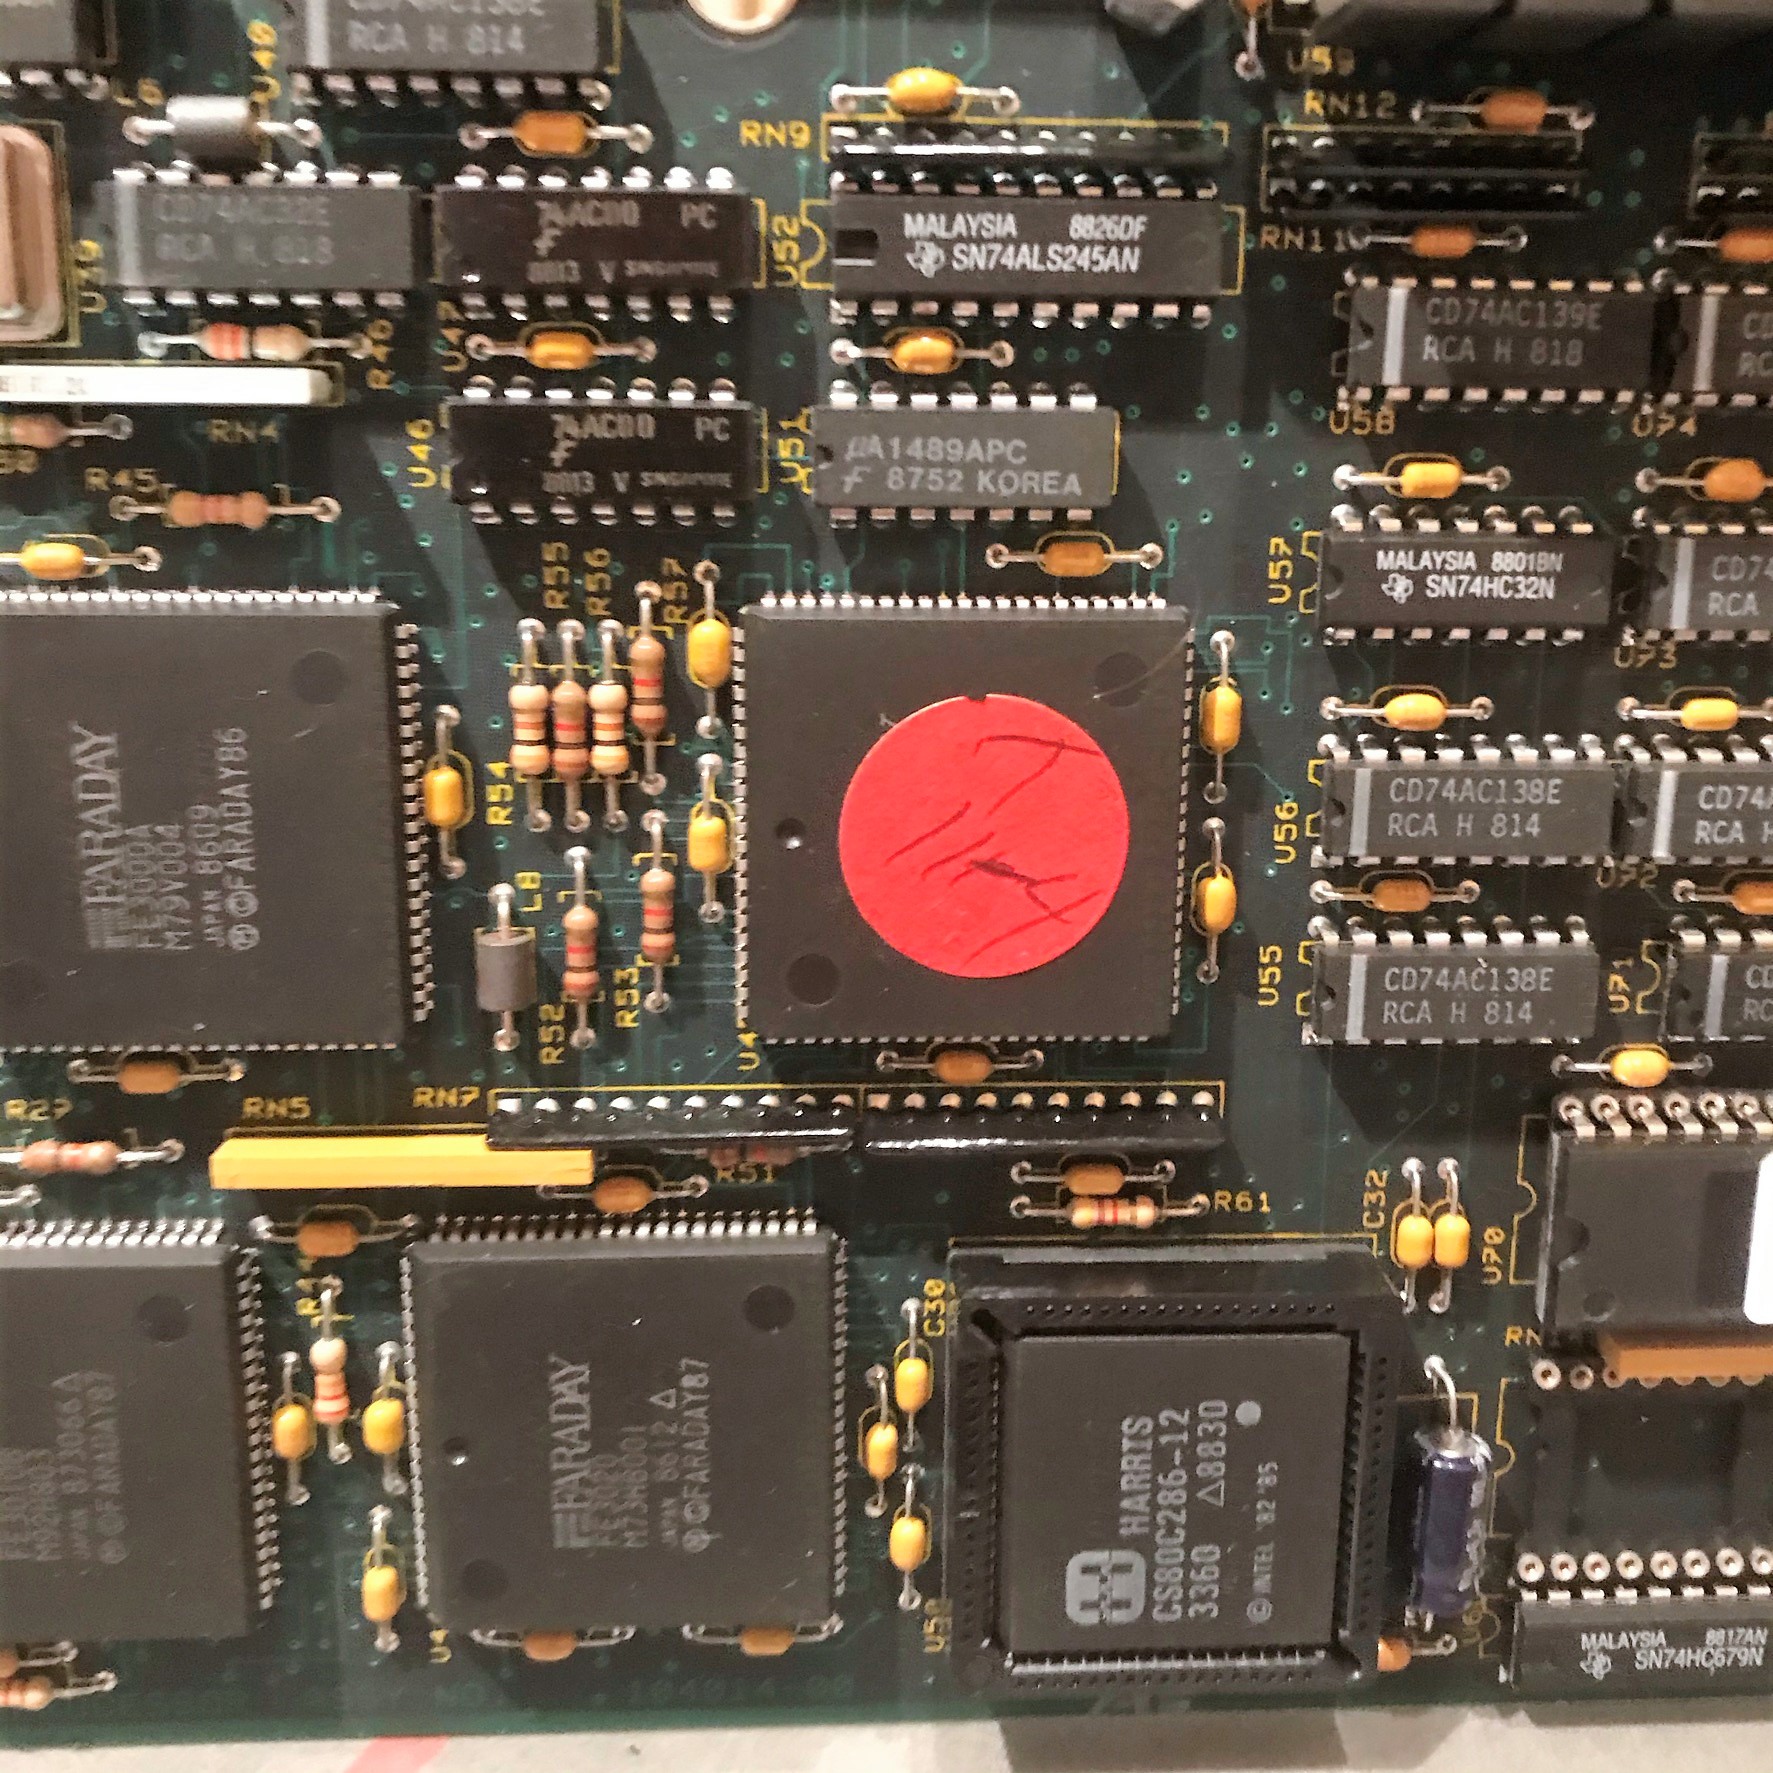
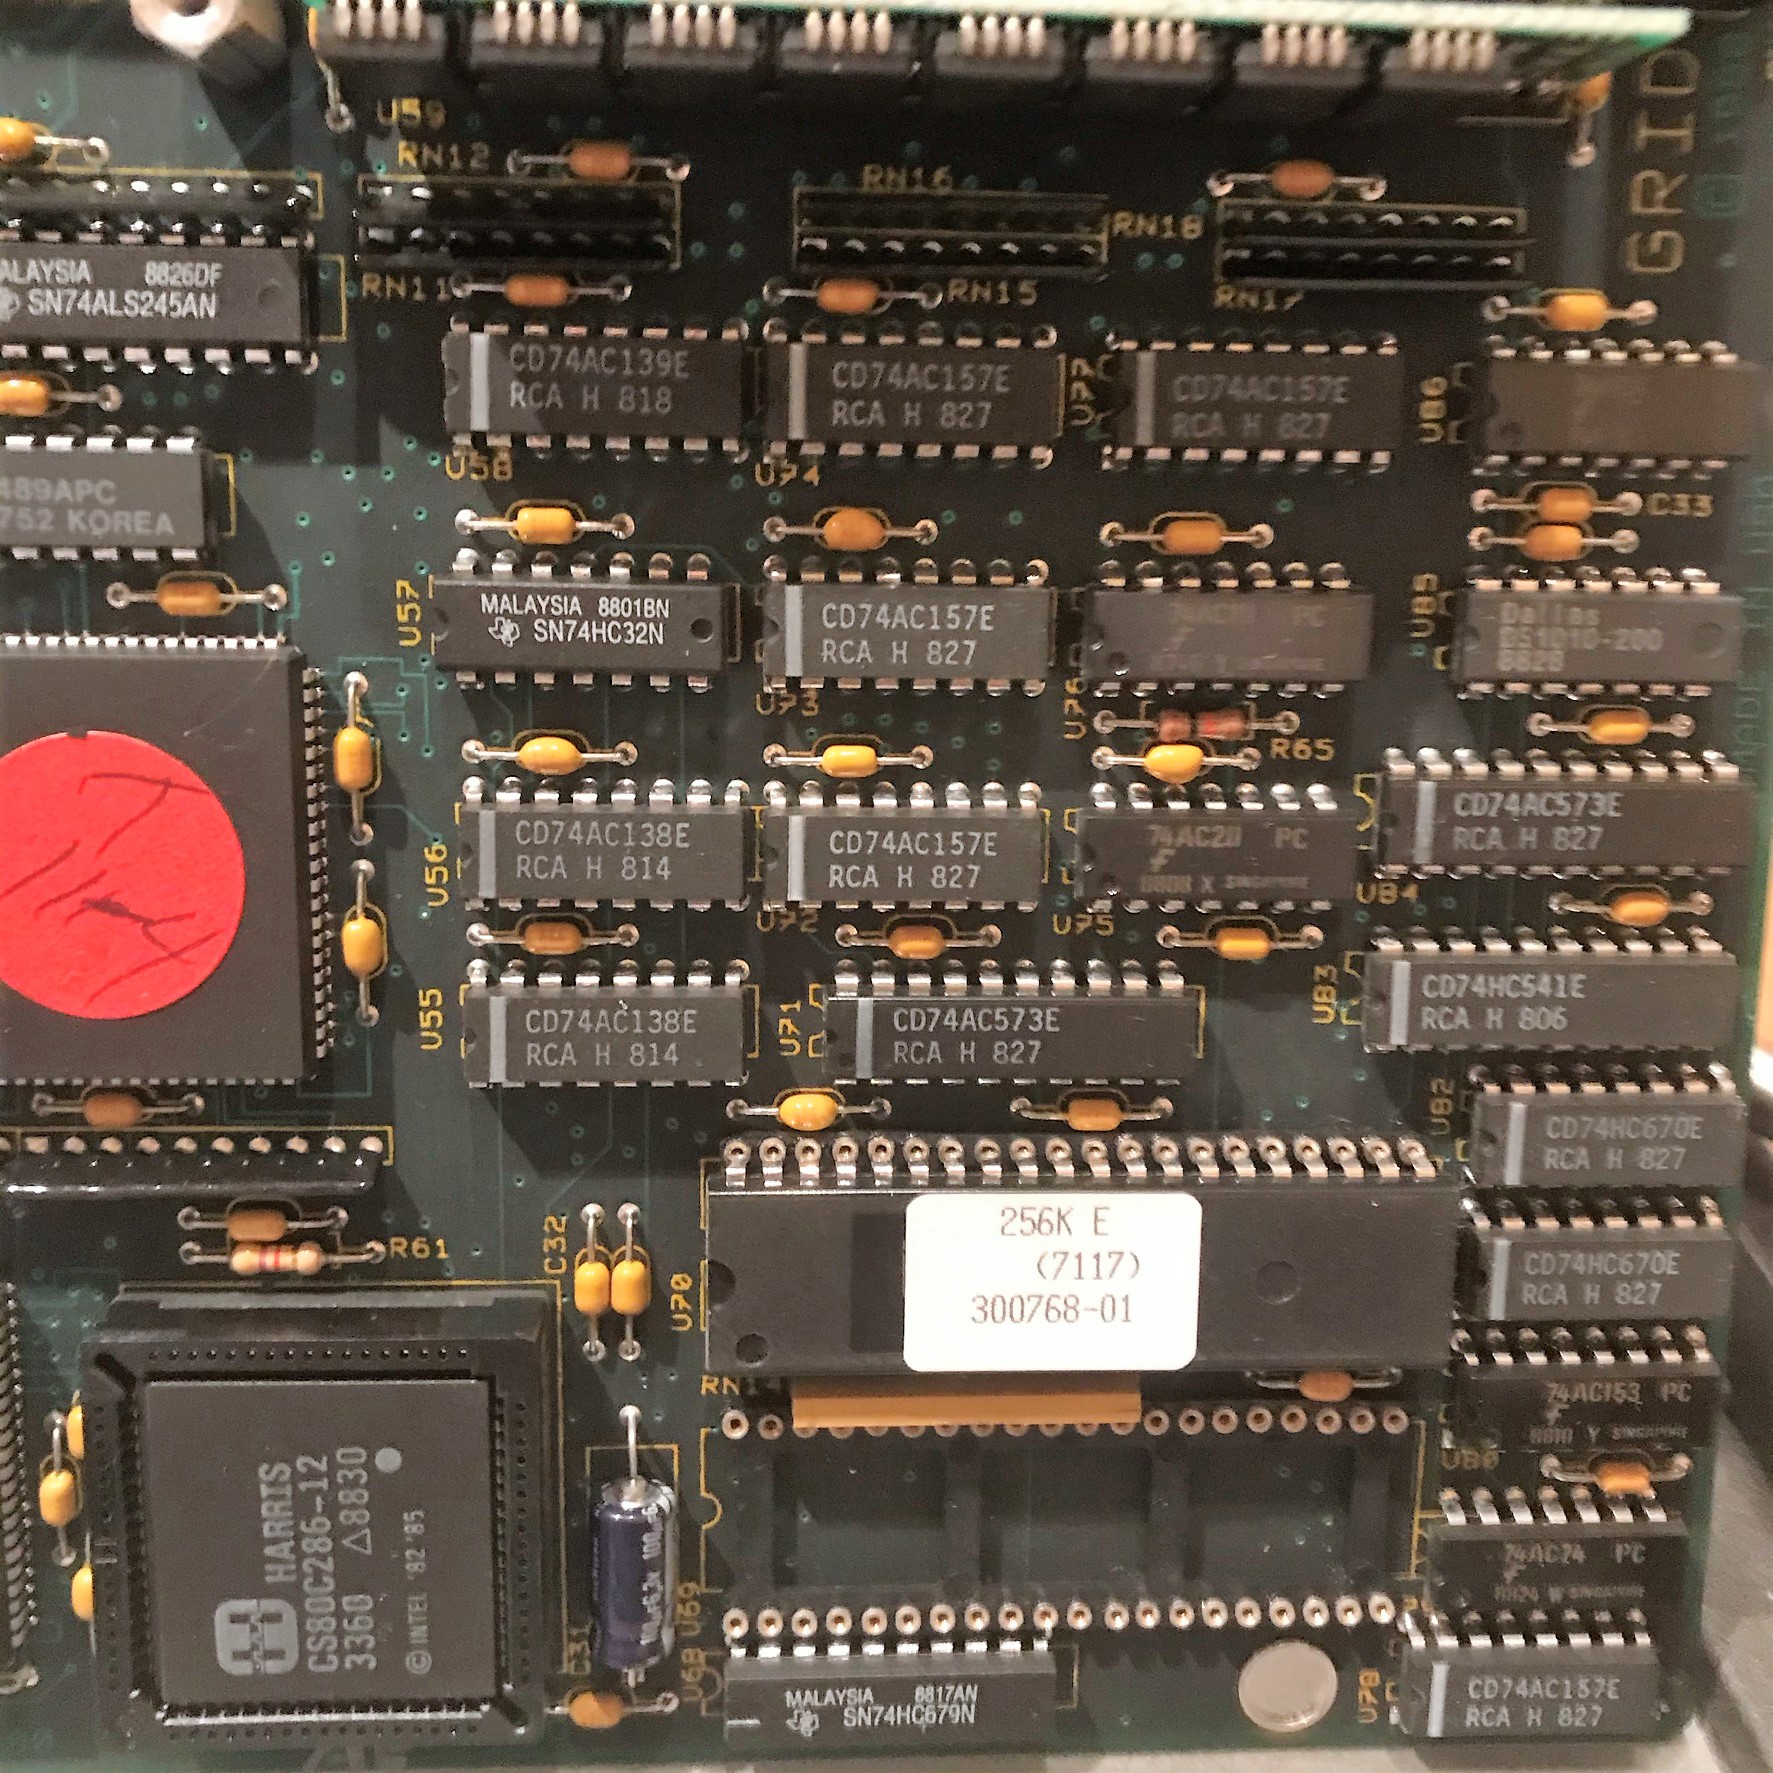
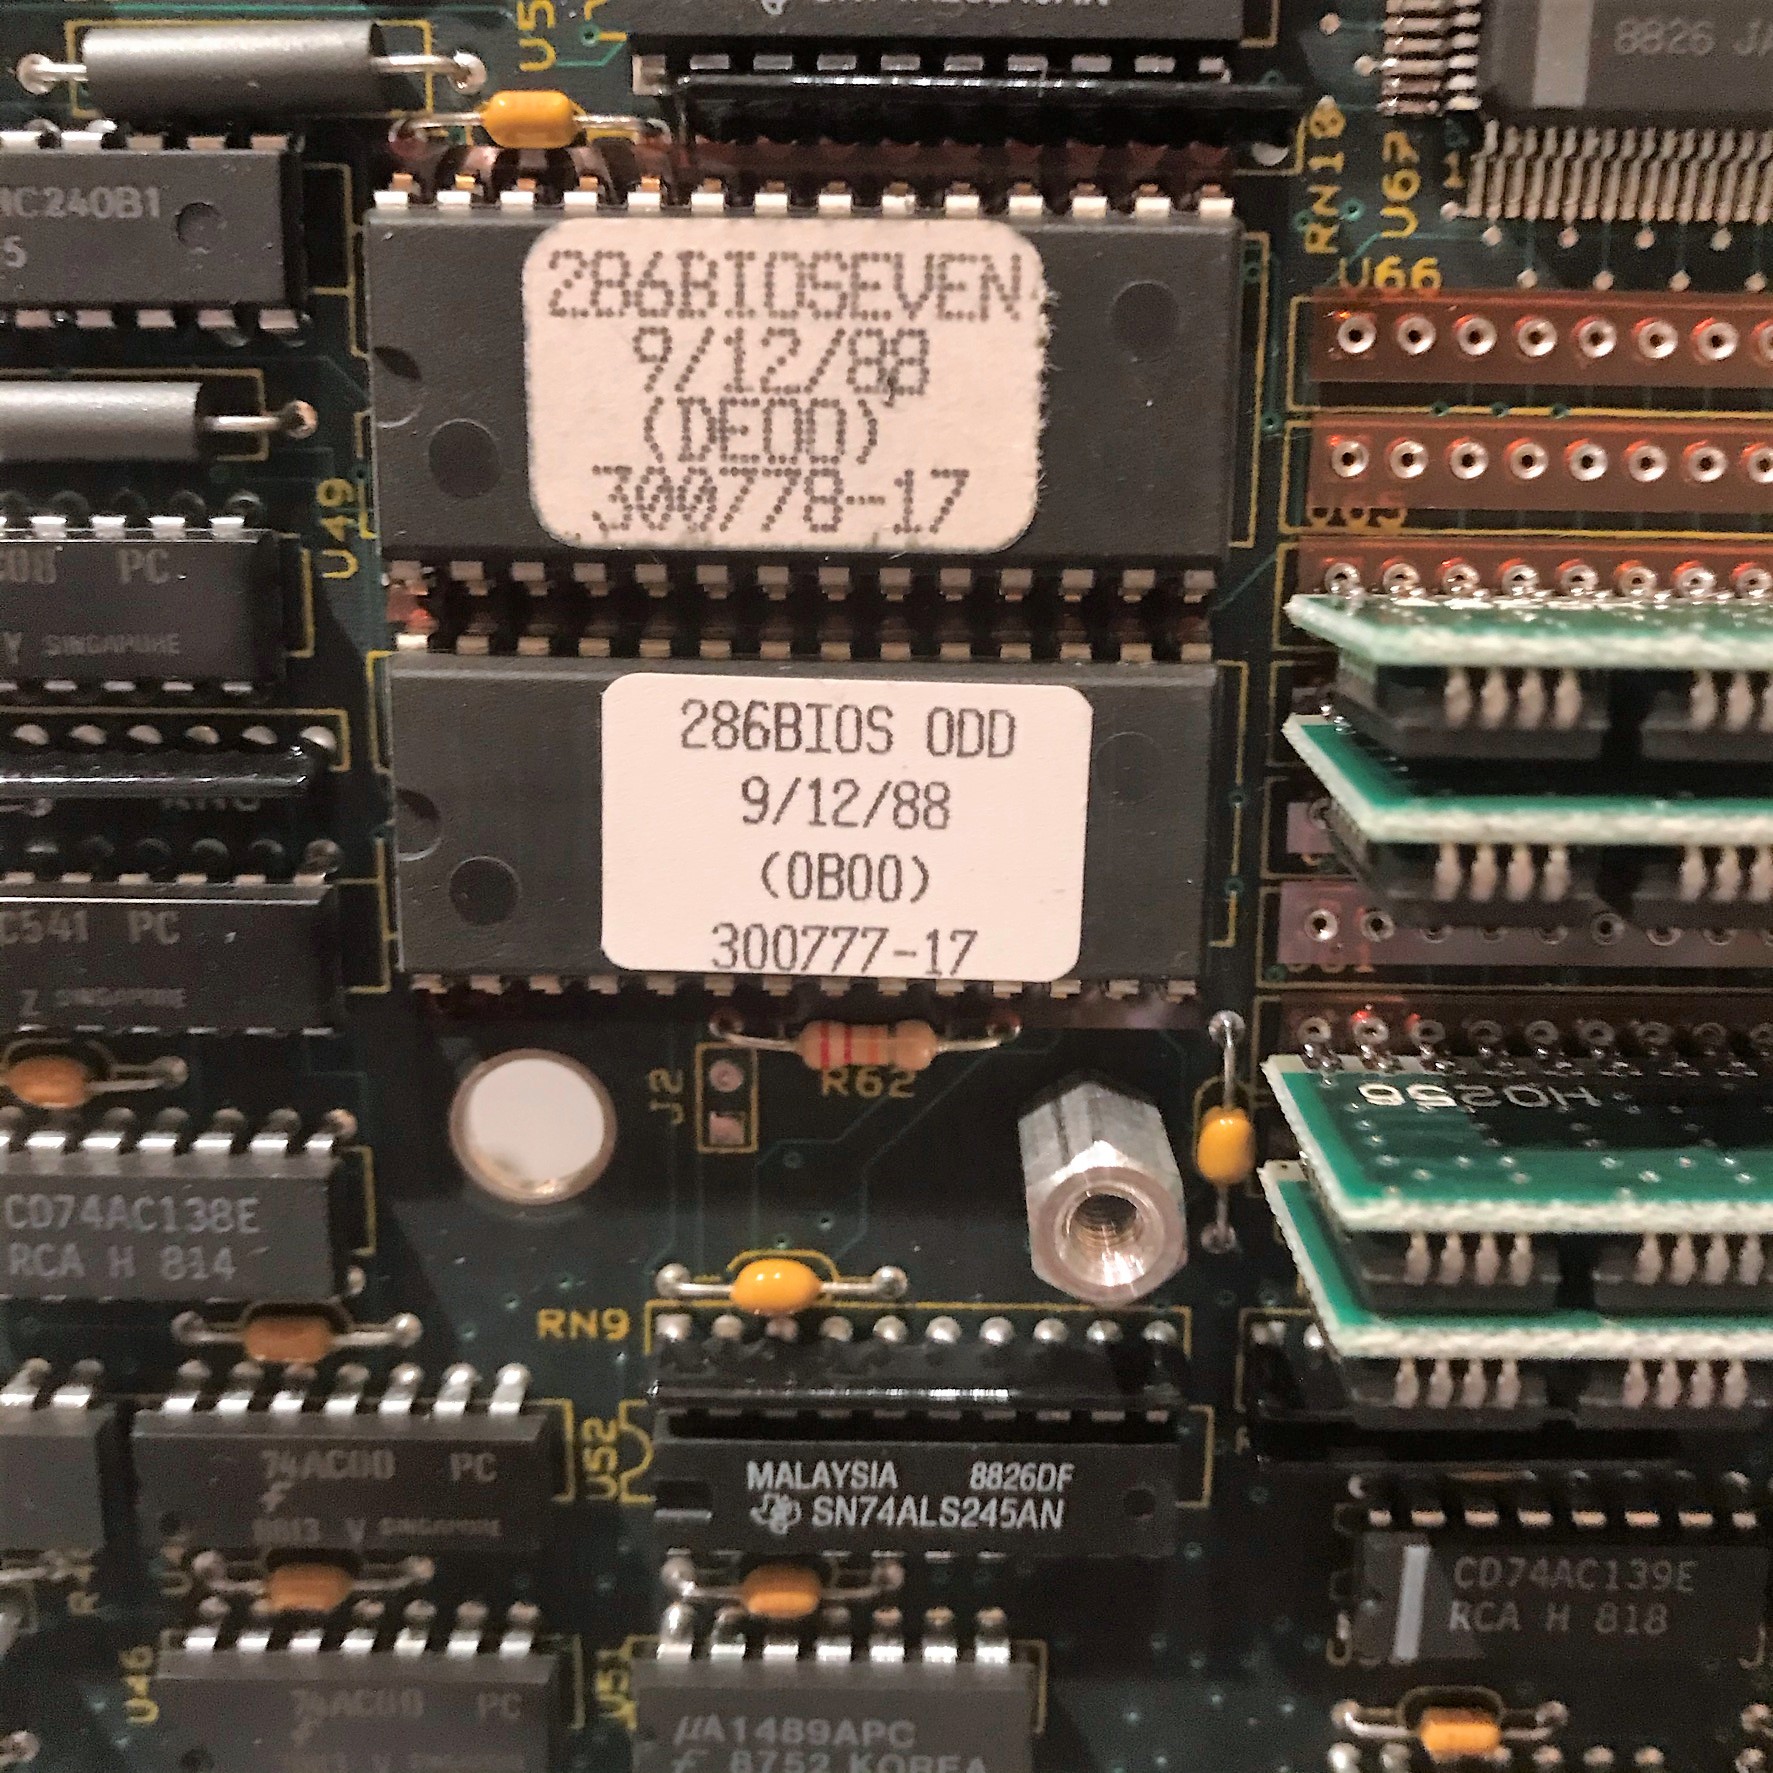
Main board pictures
Some bonus pictures of the main board: